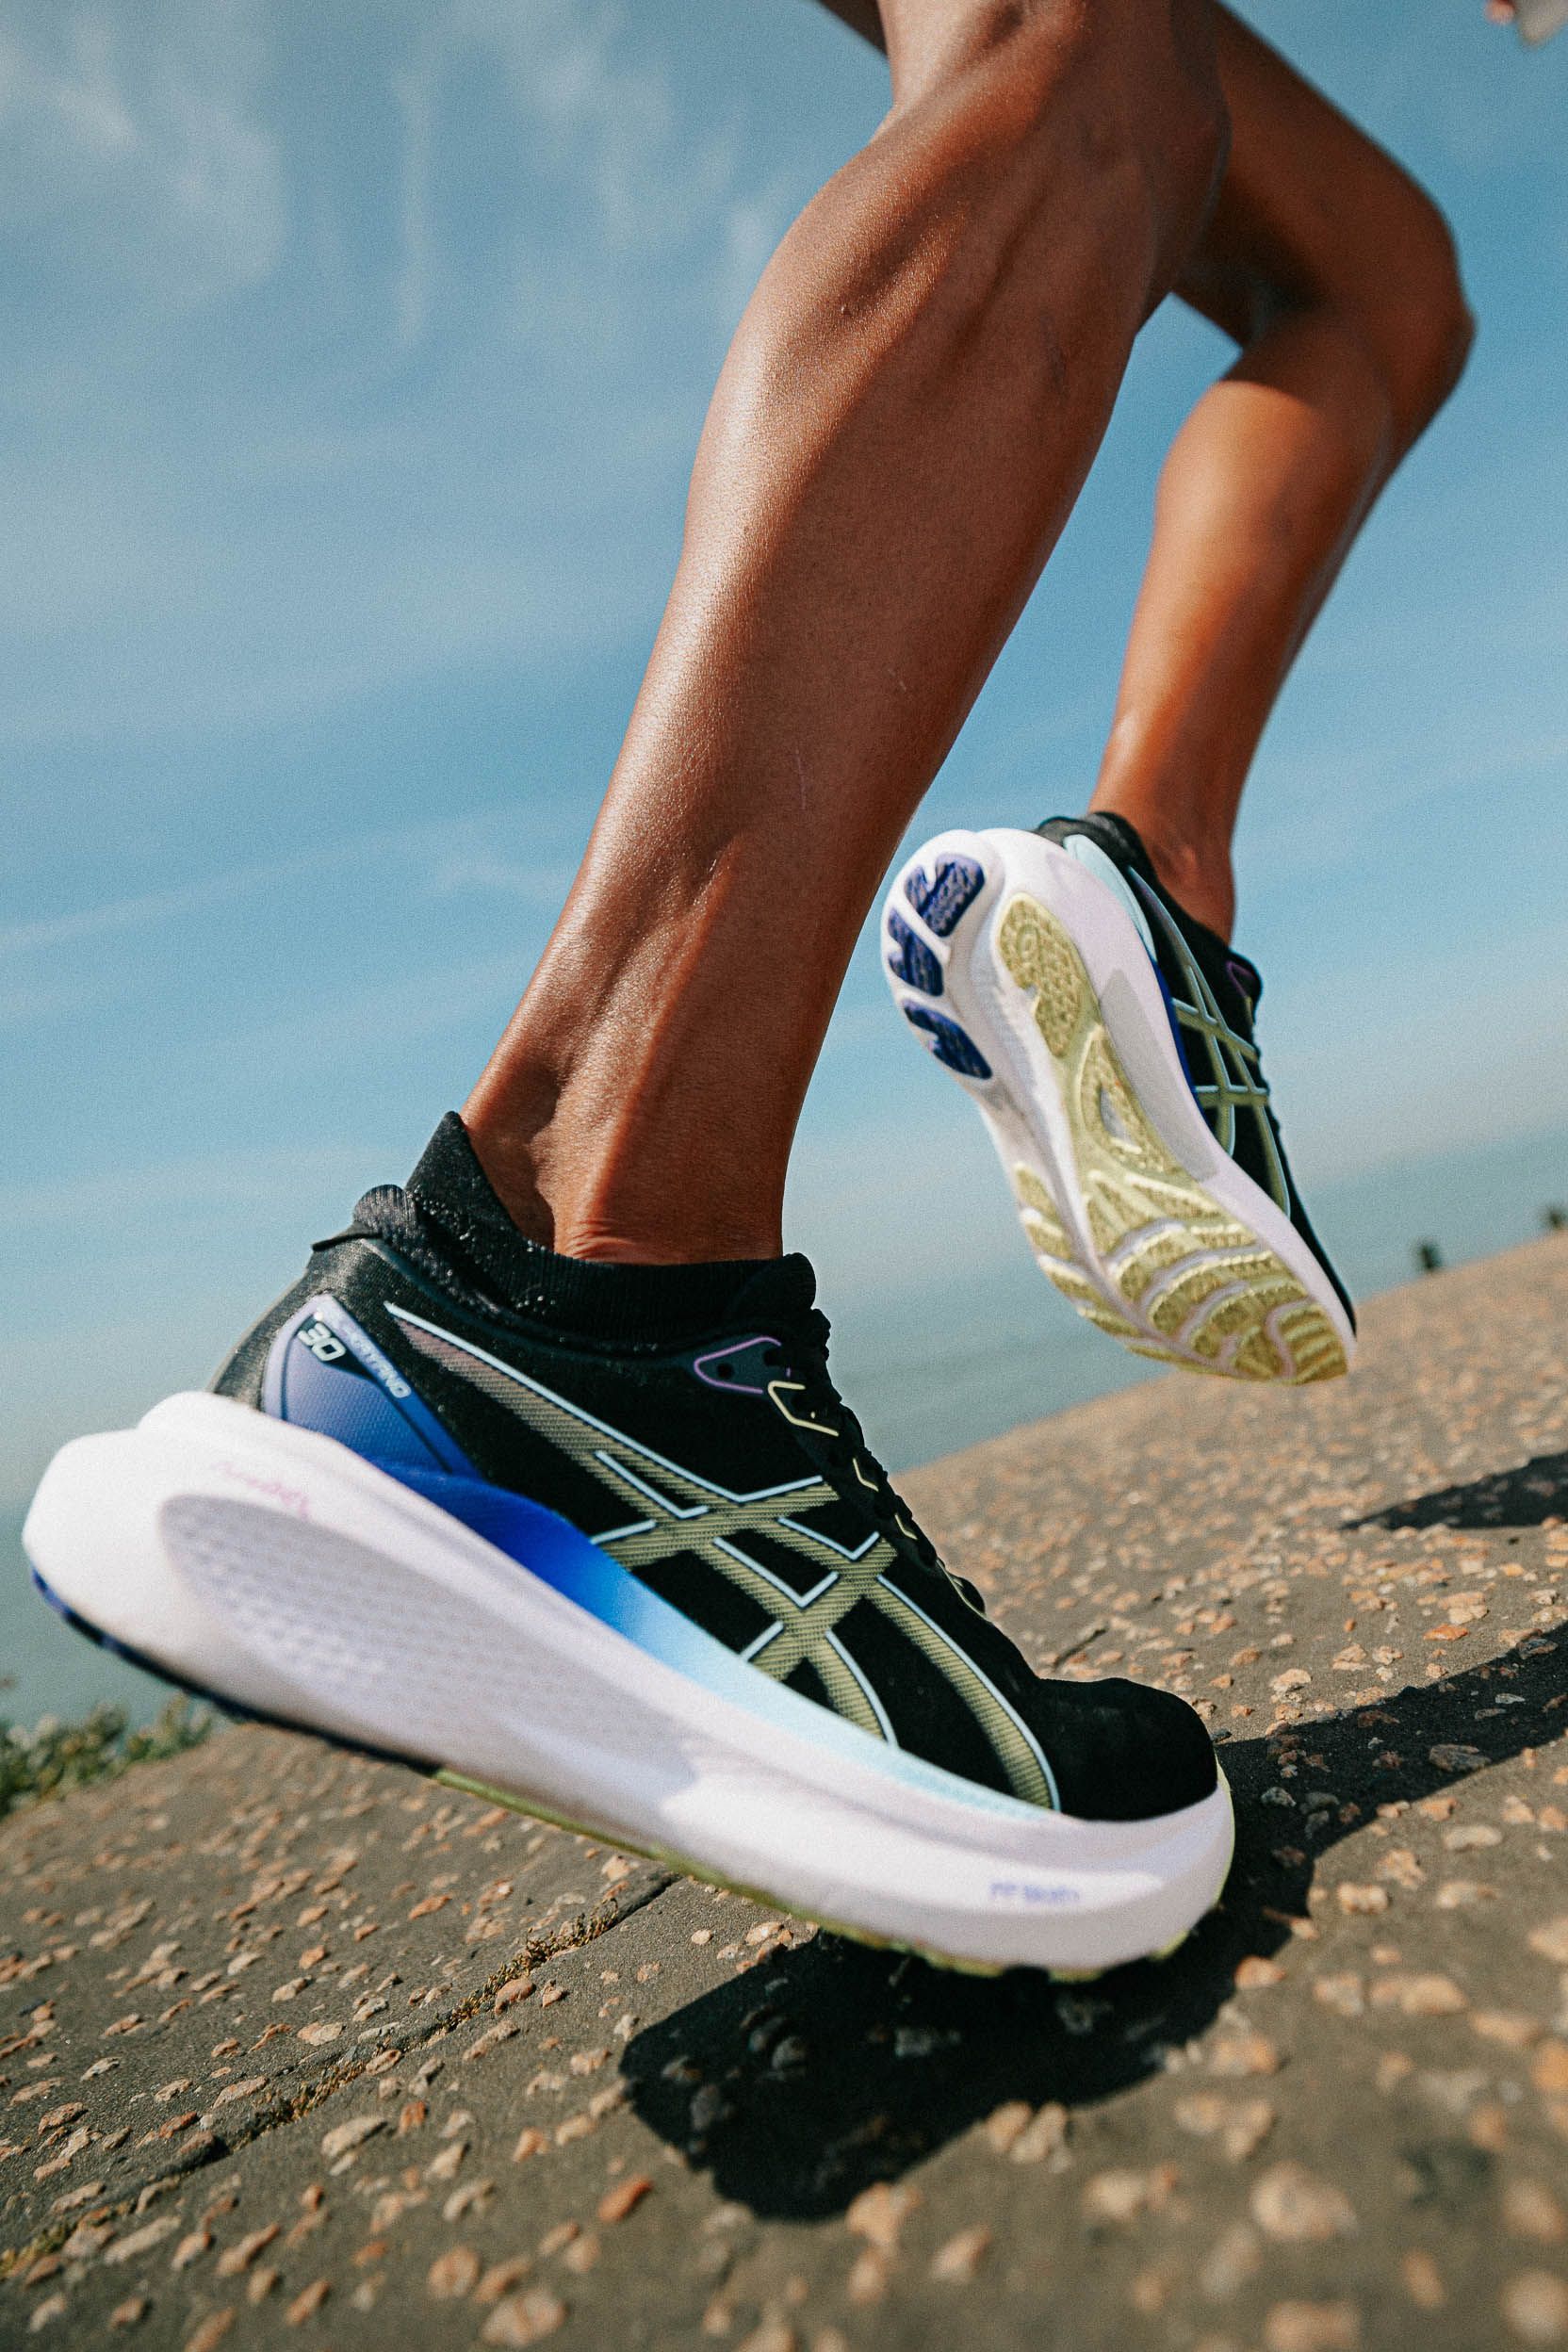
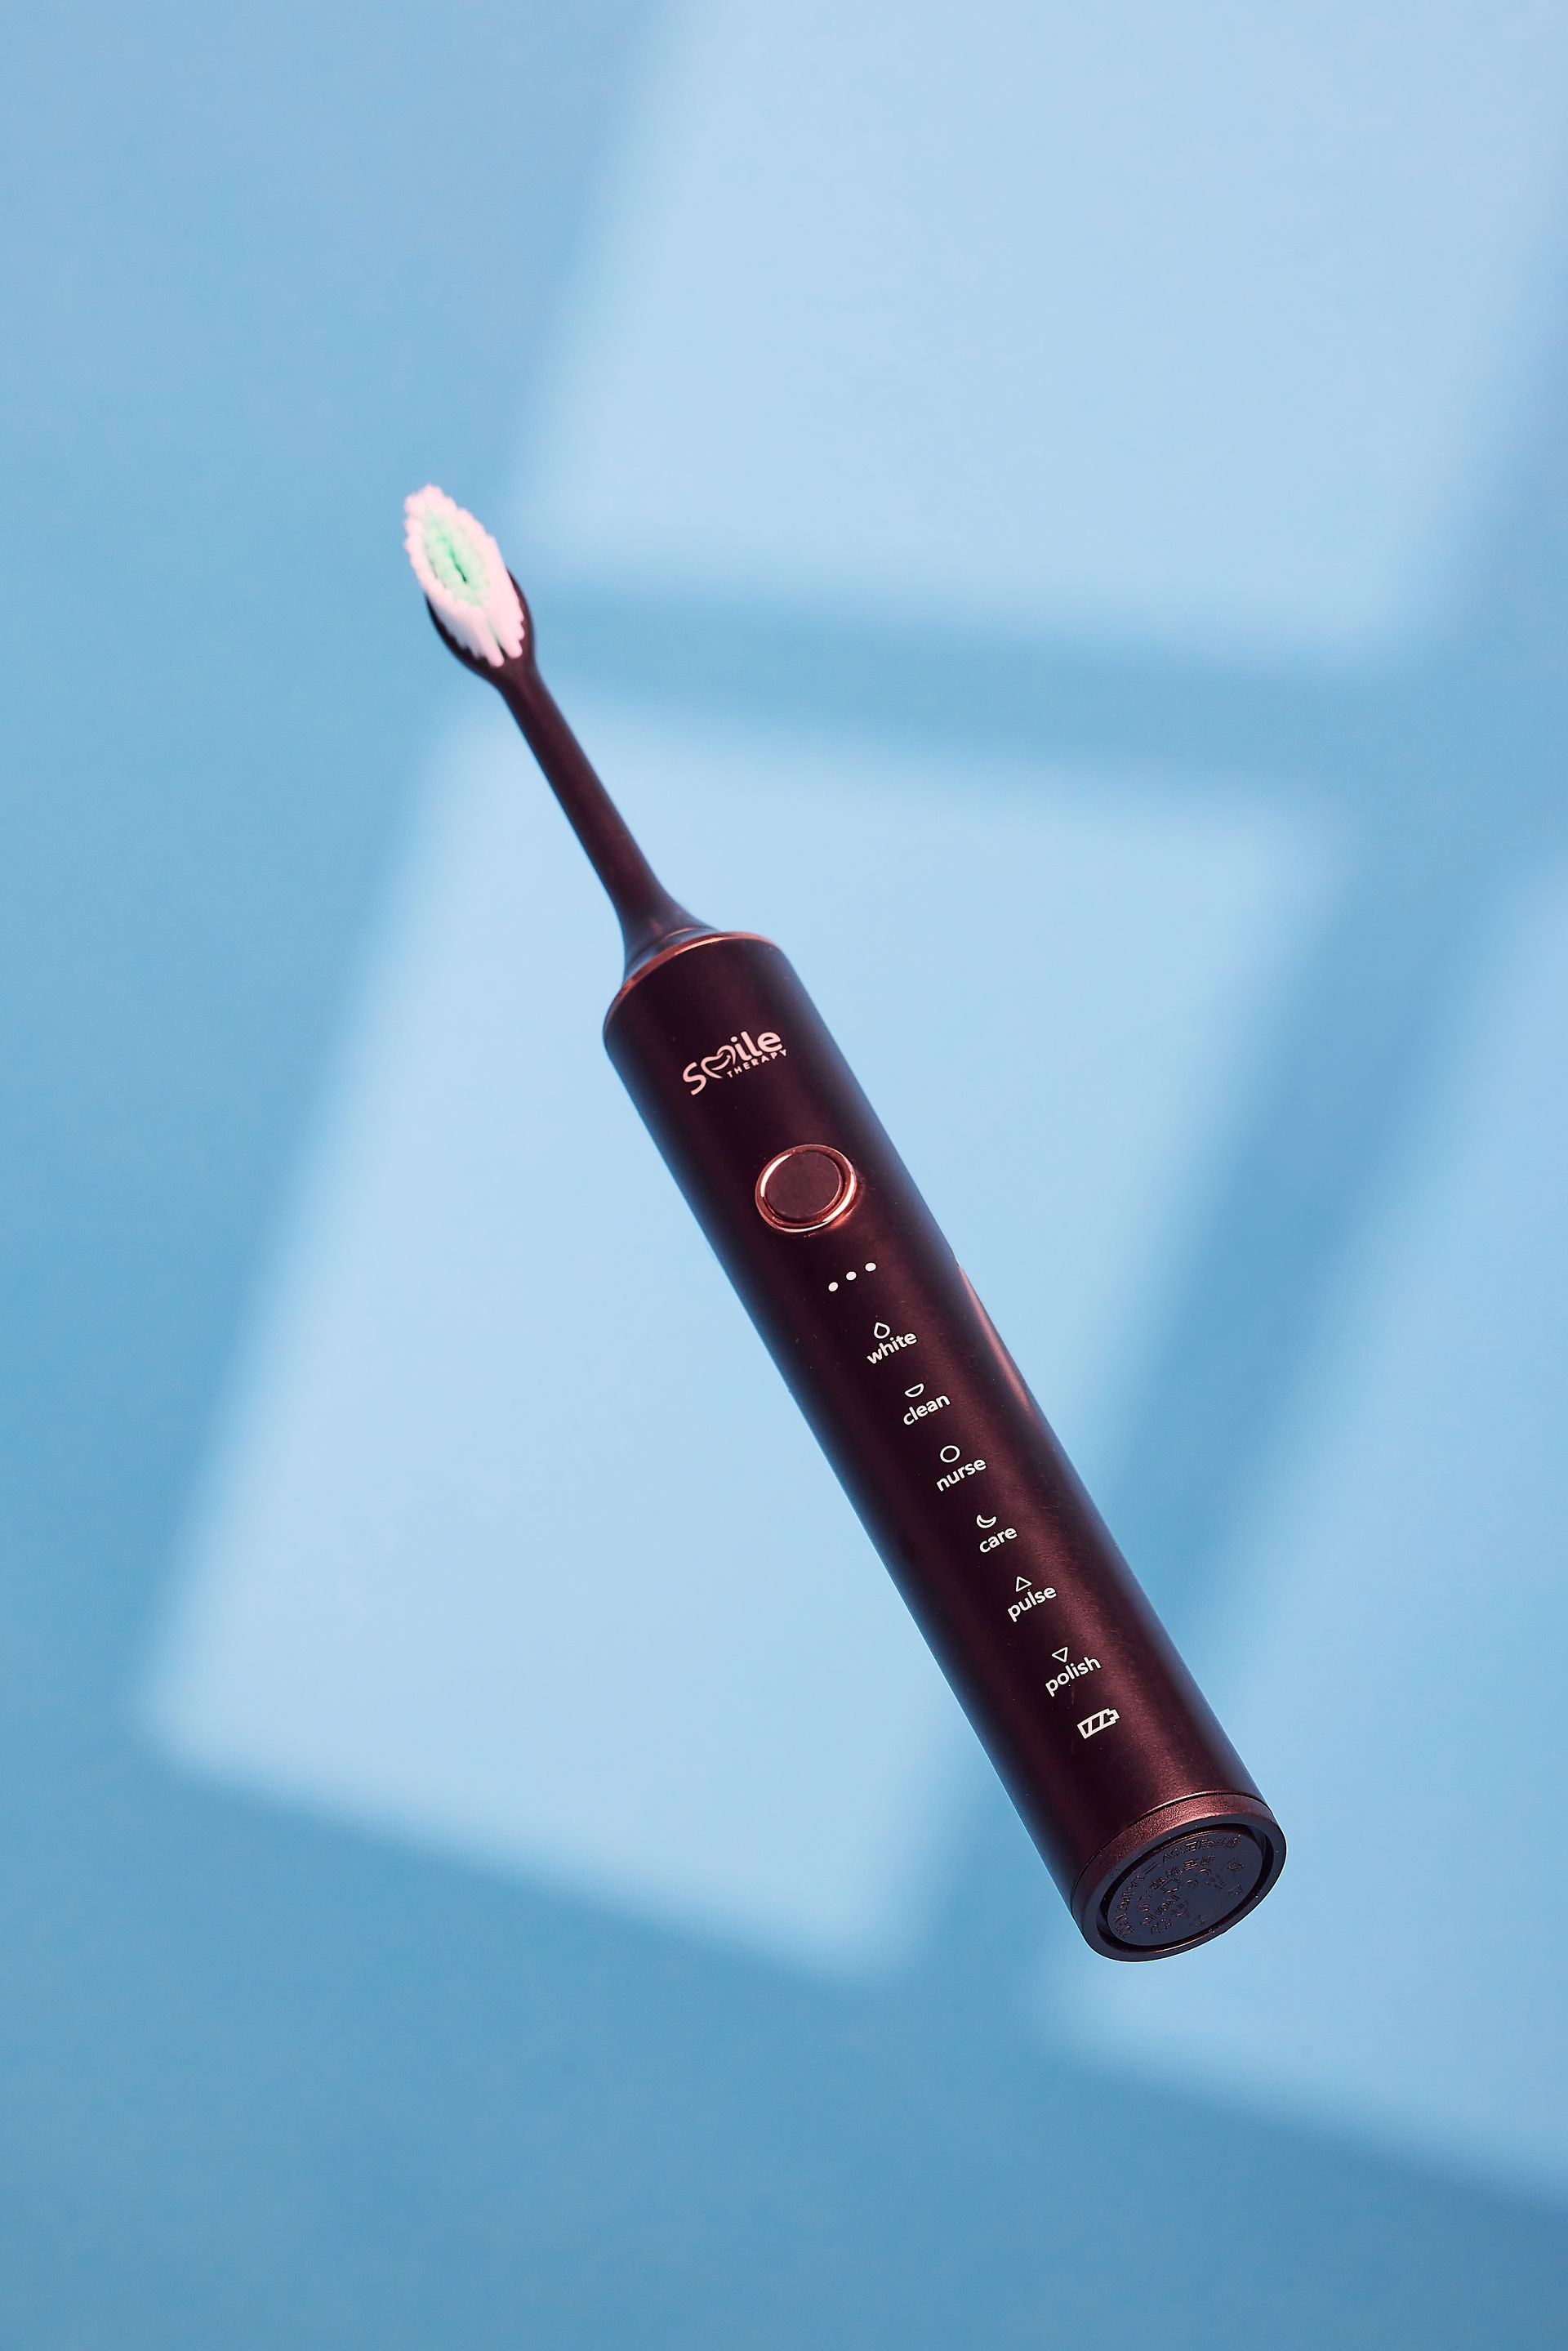
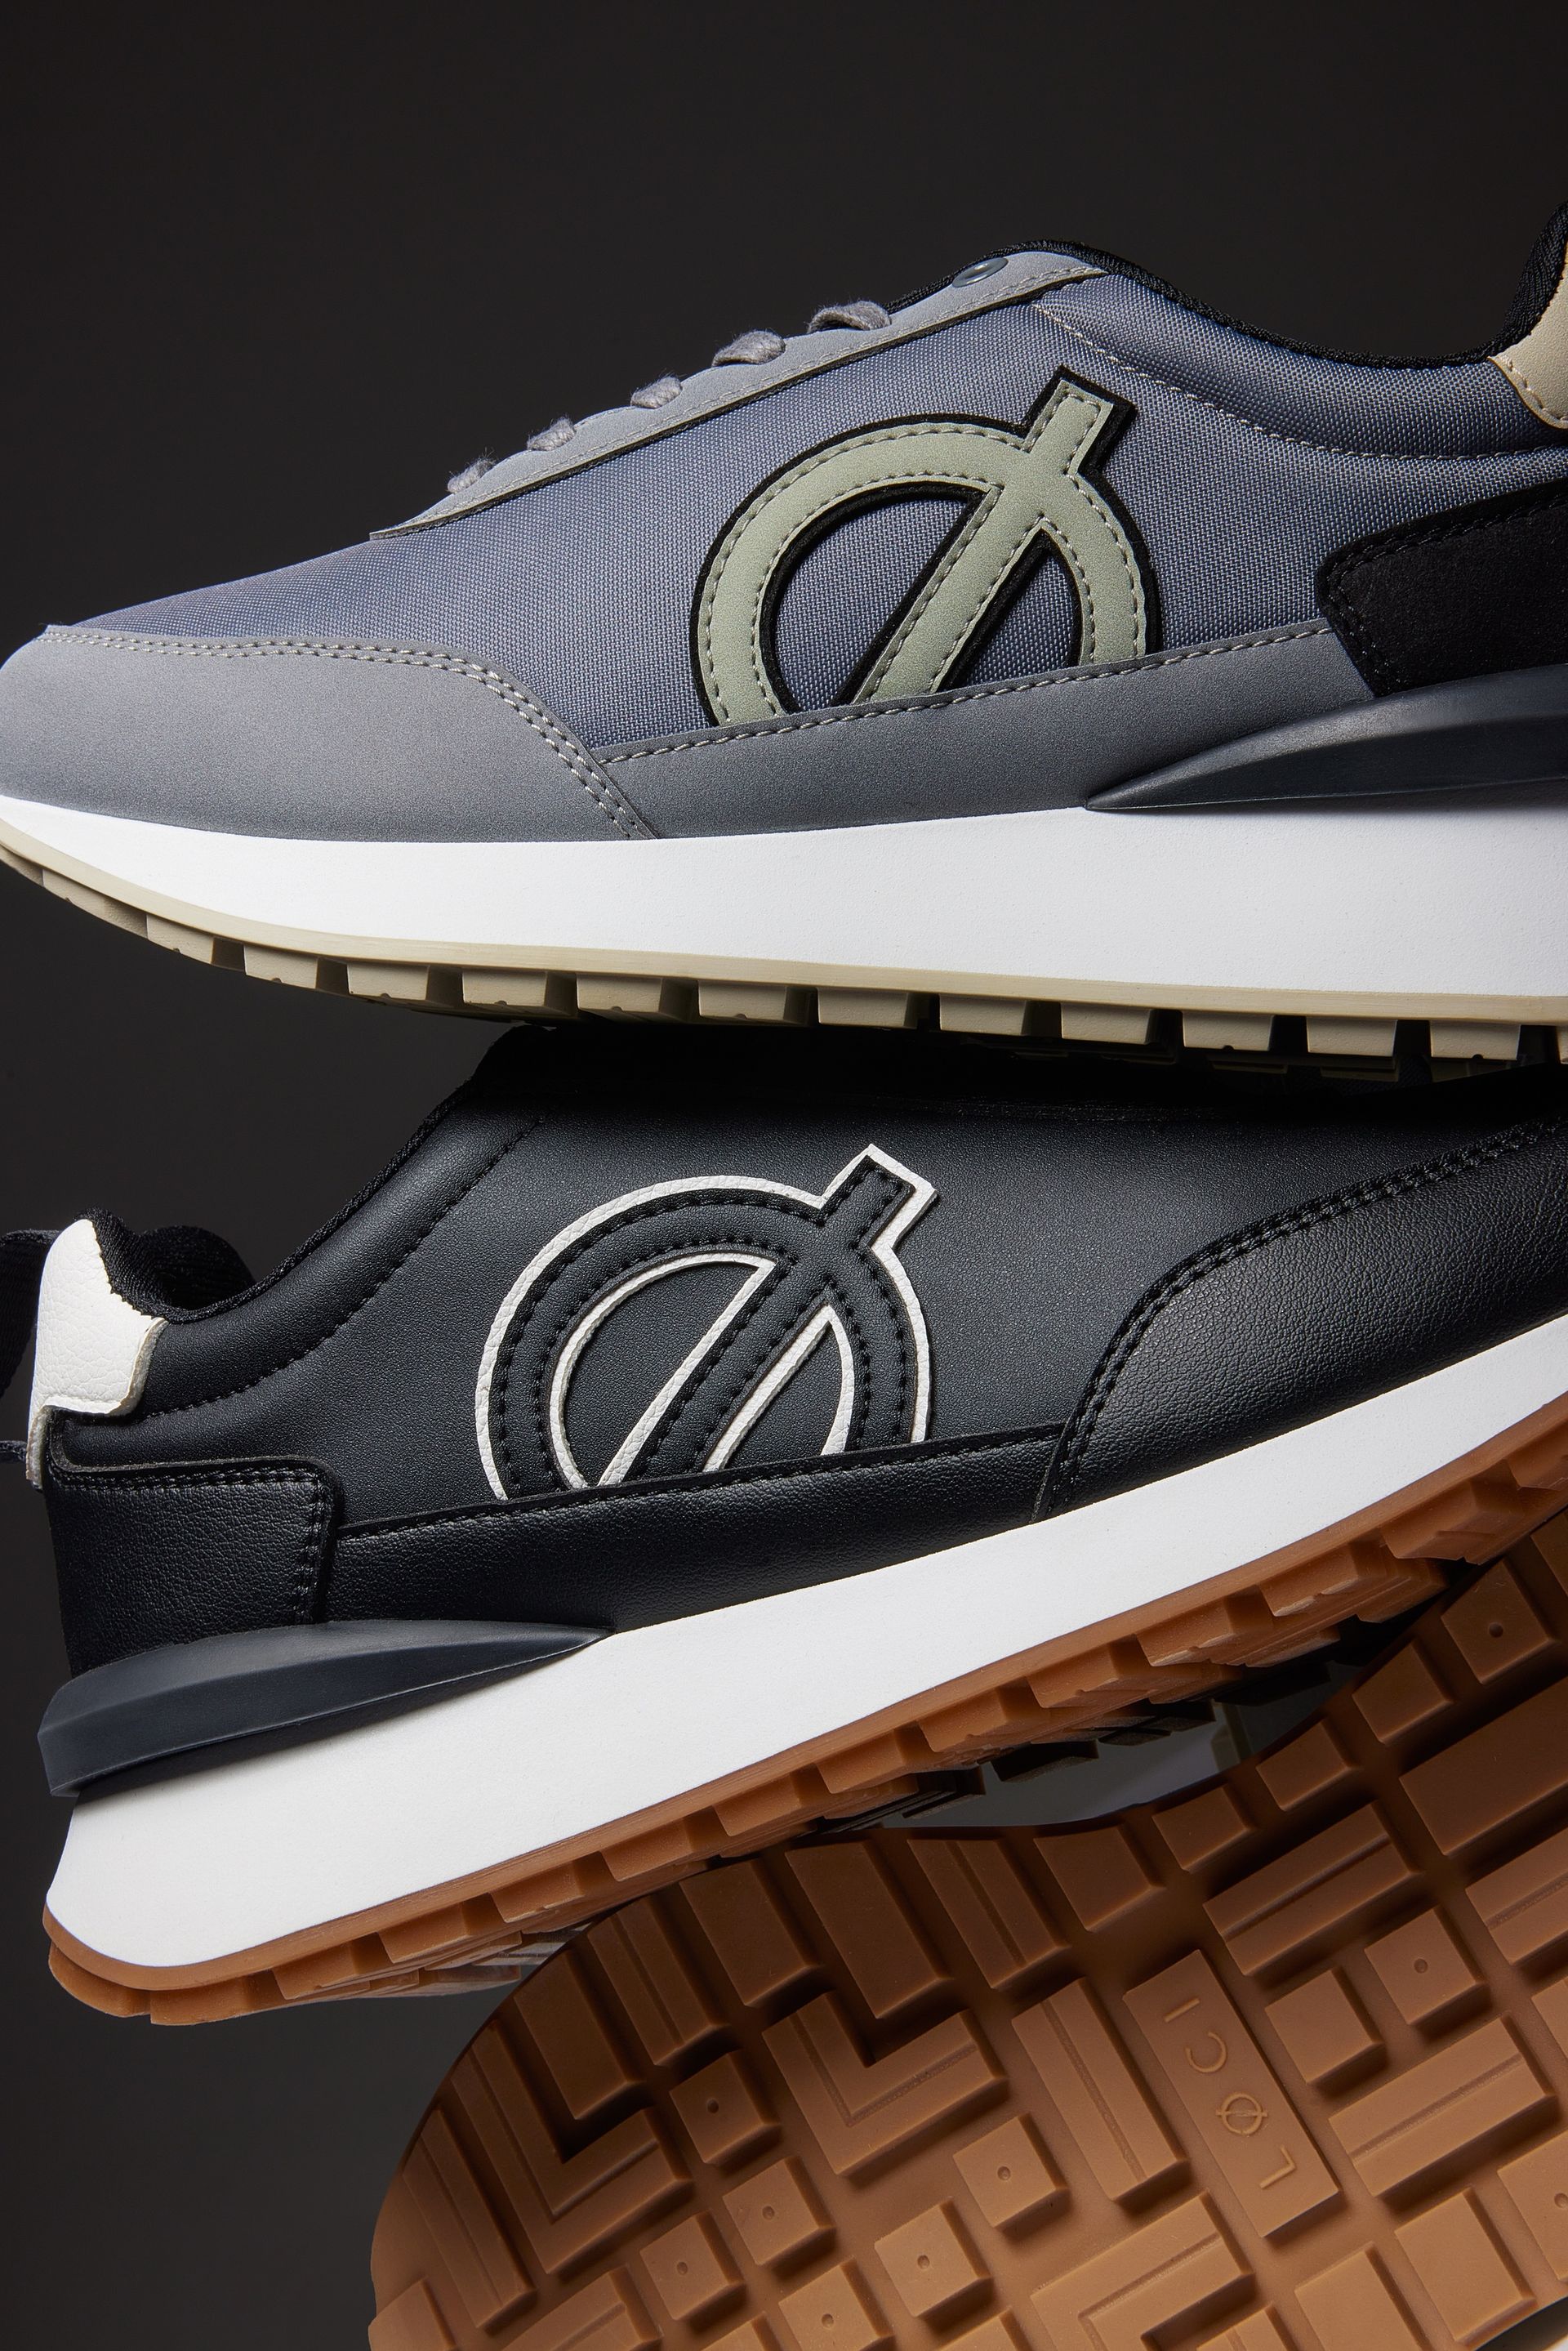
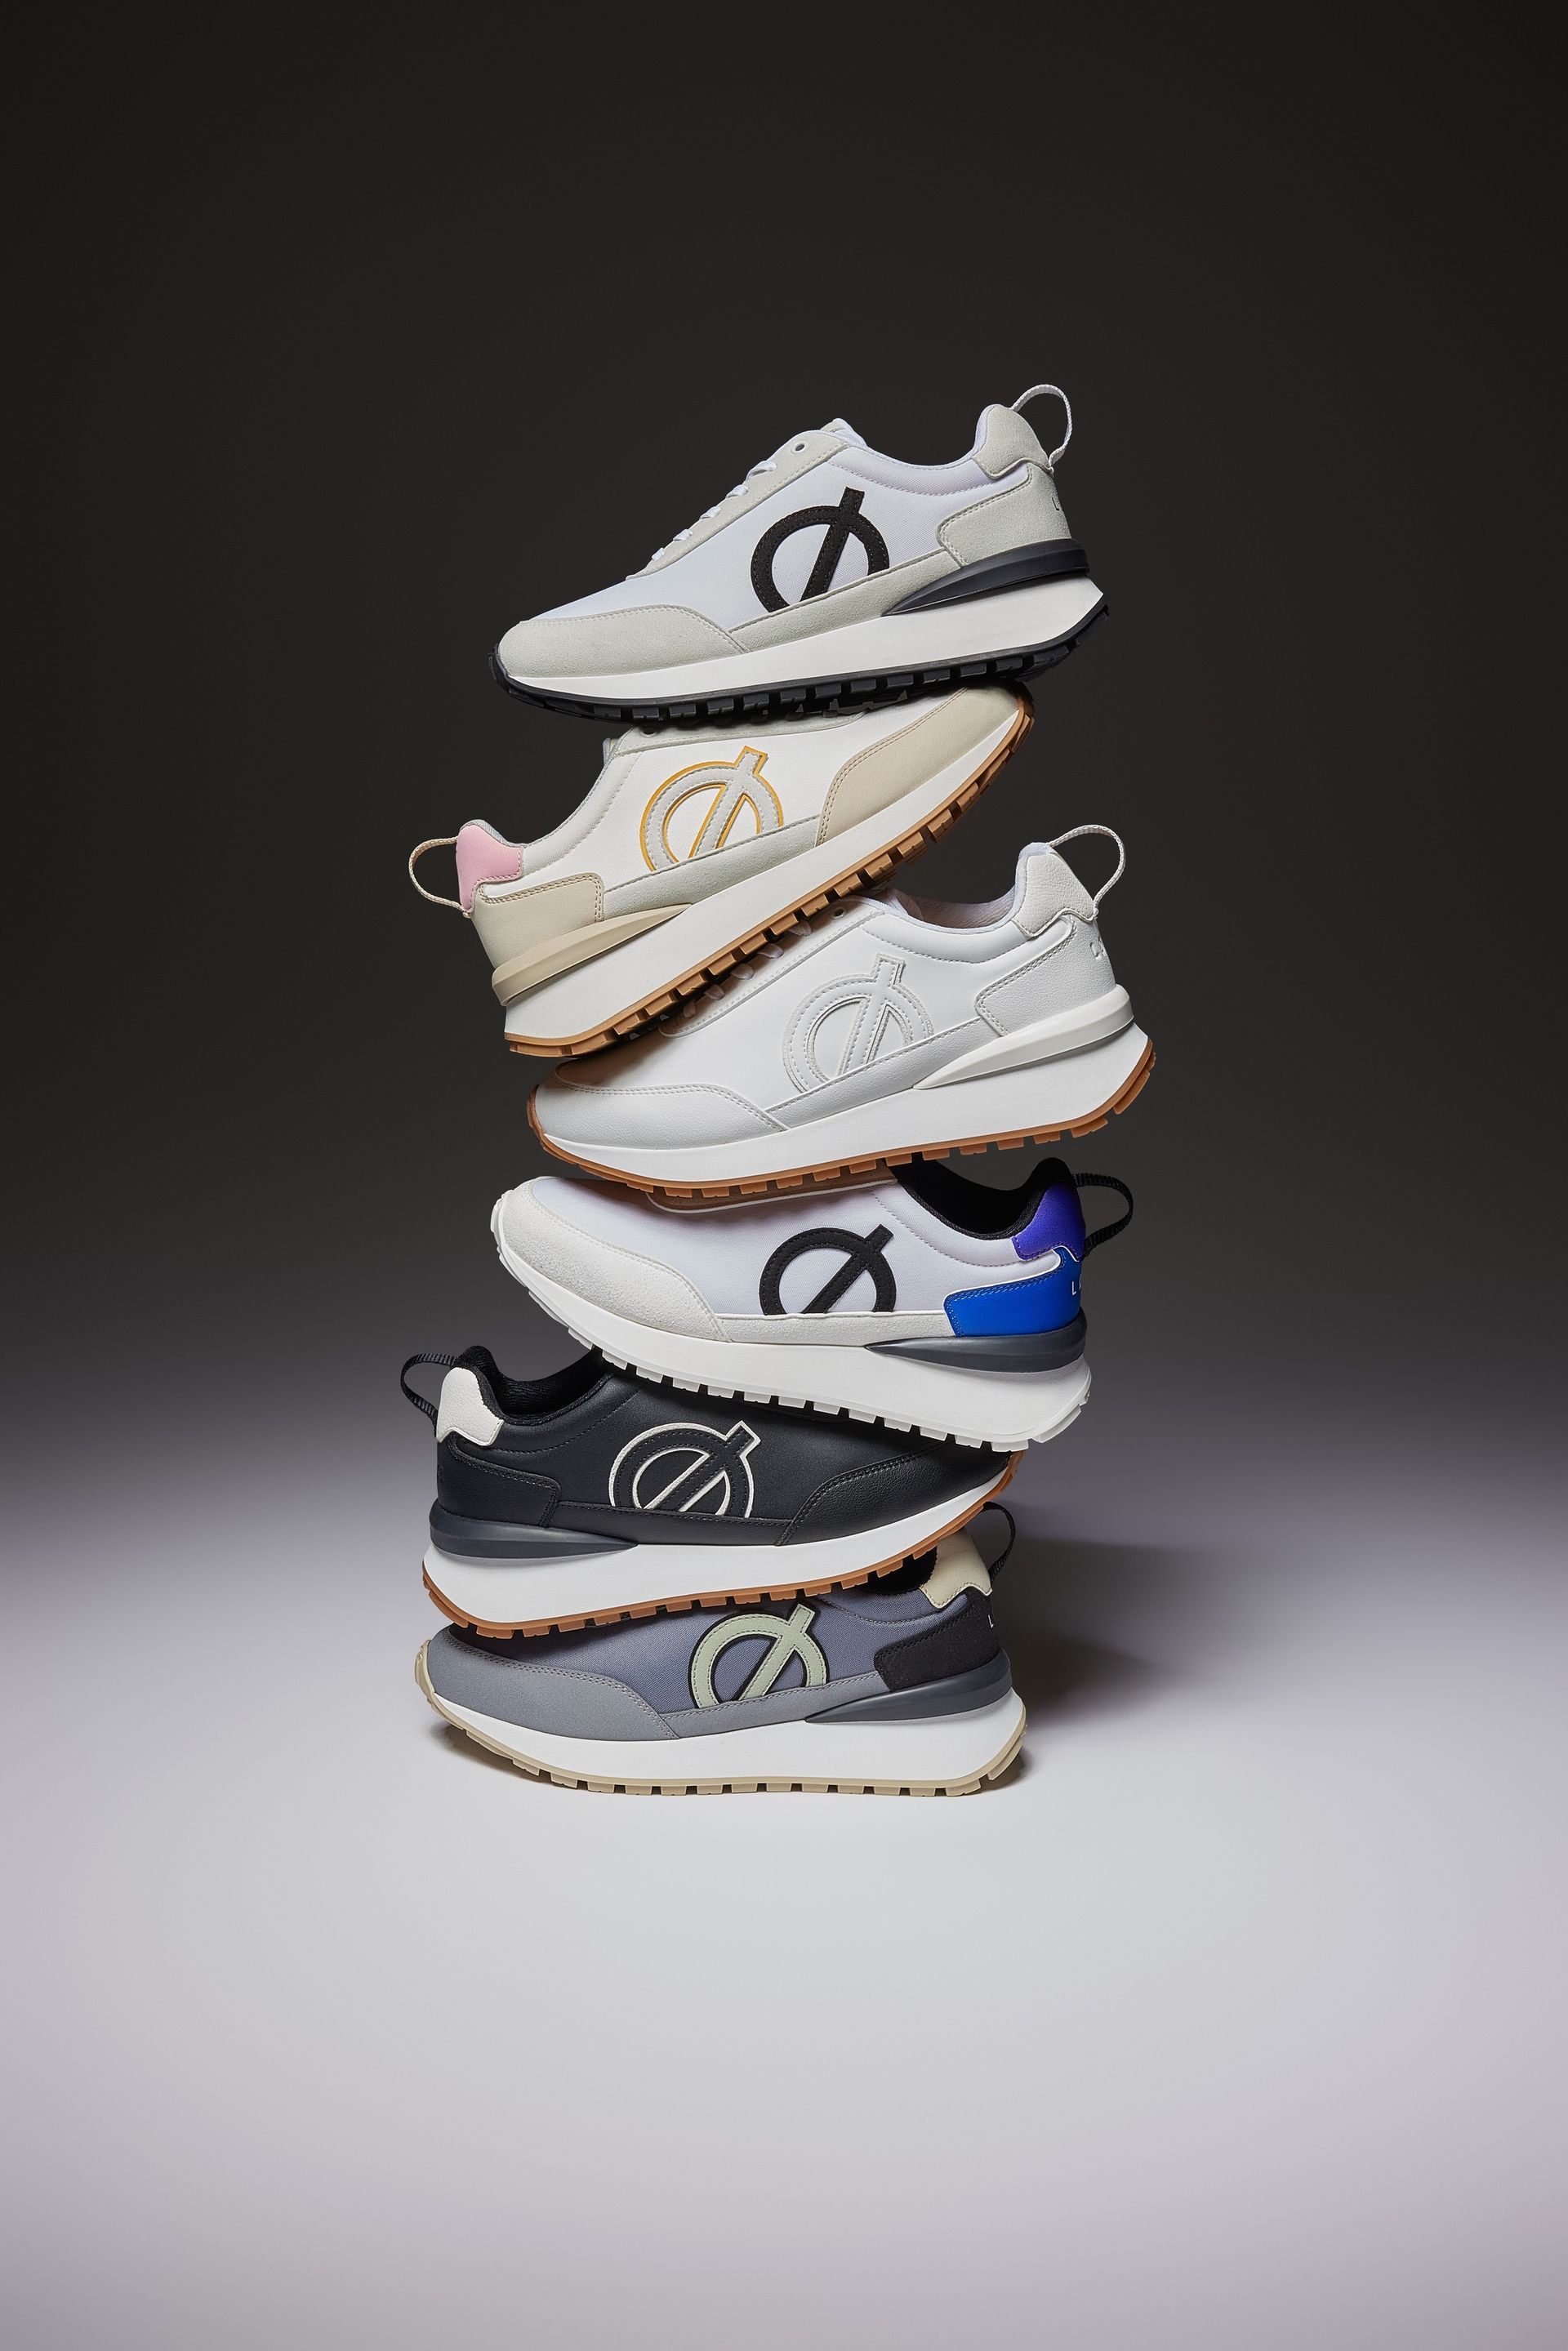
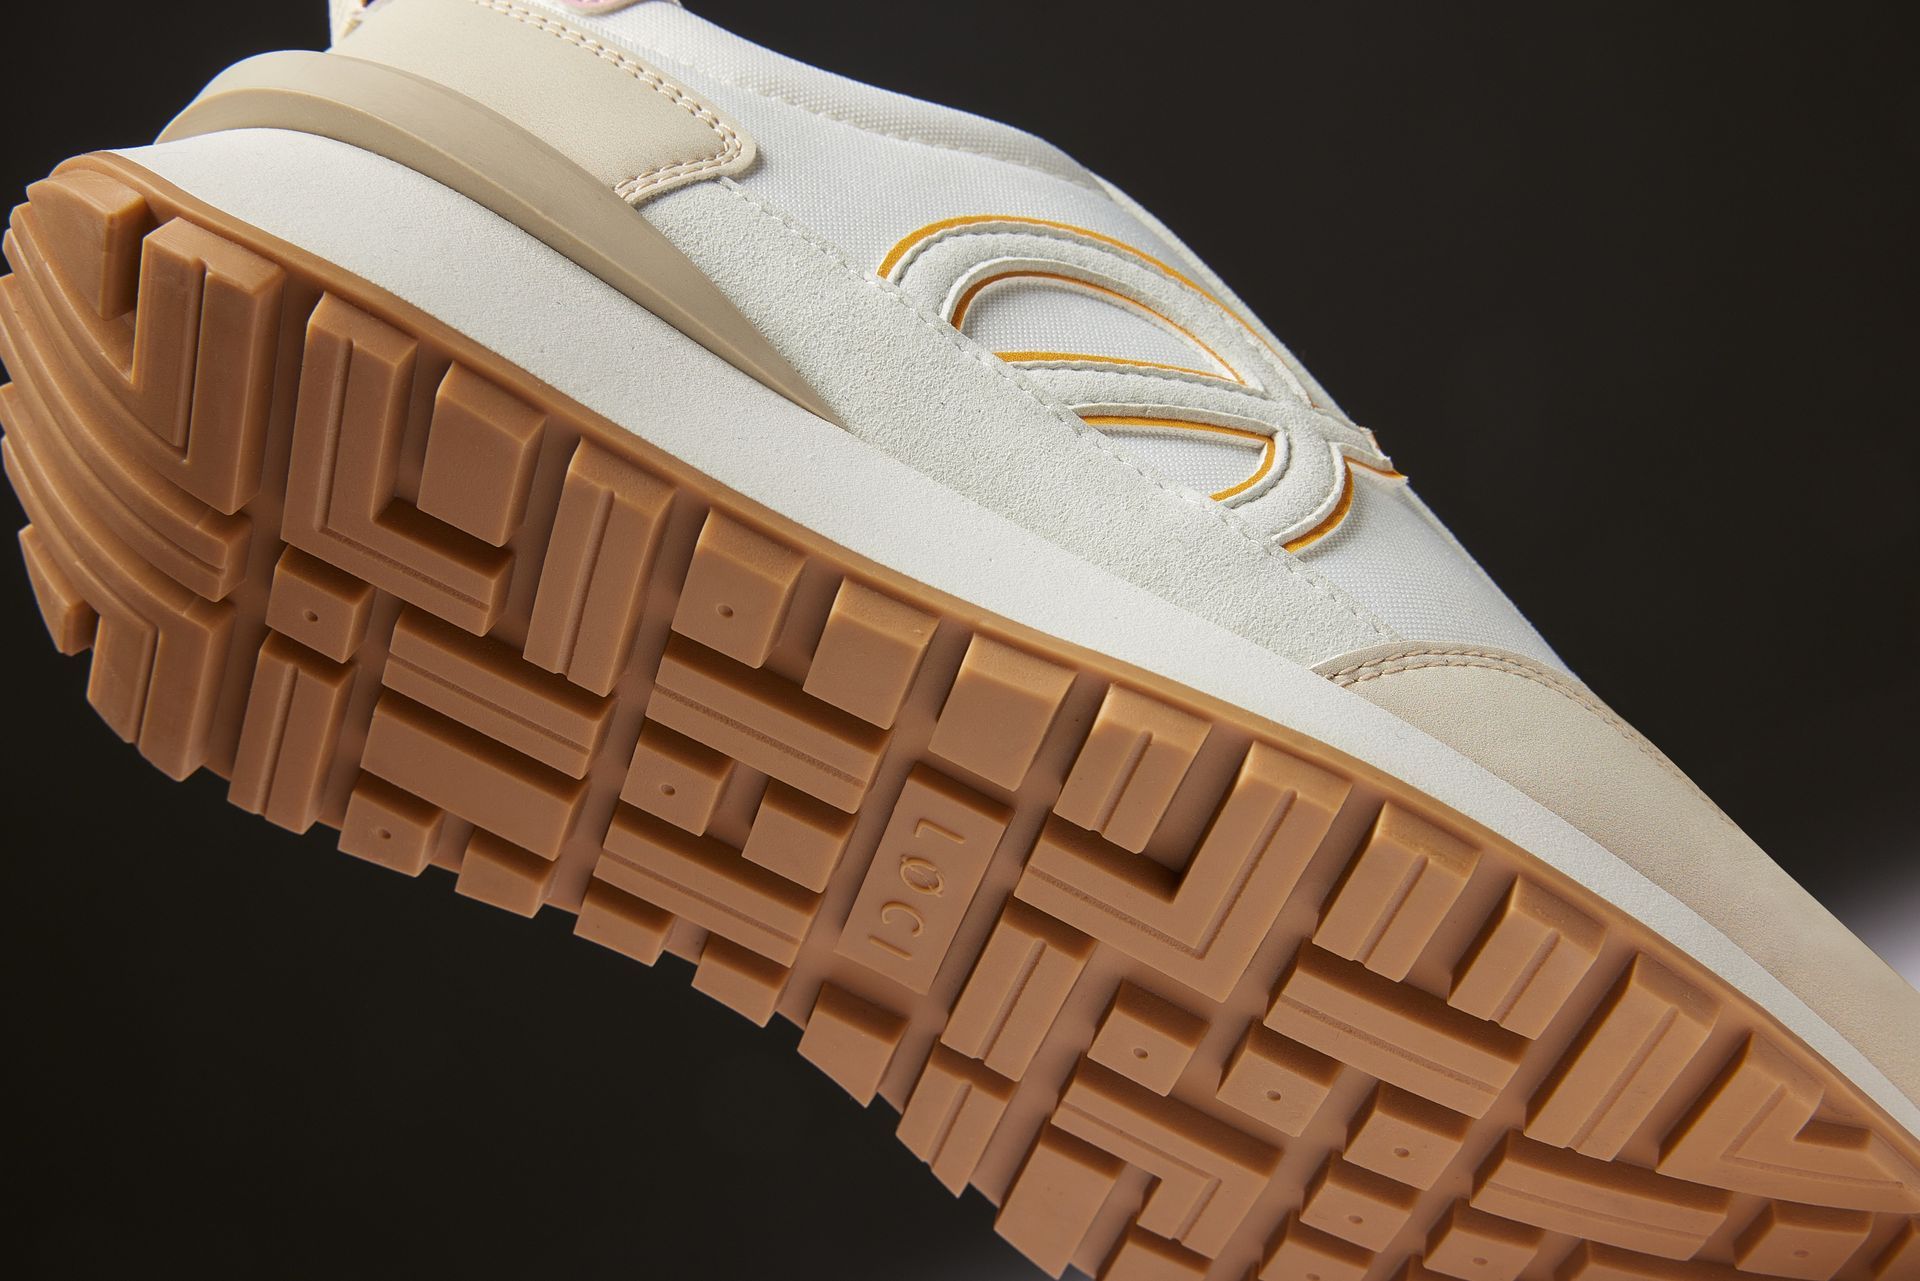
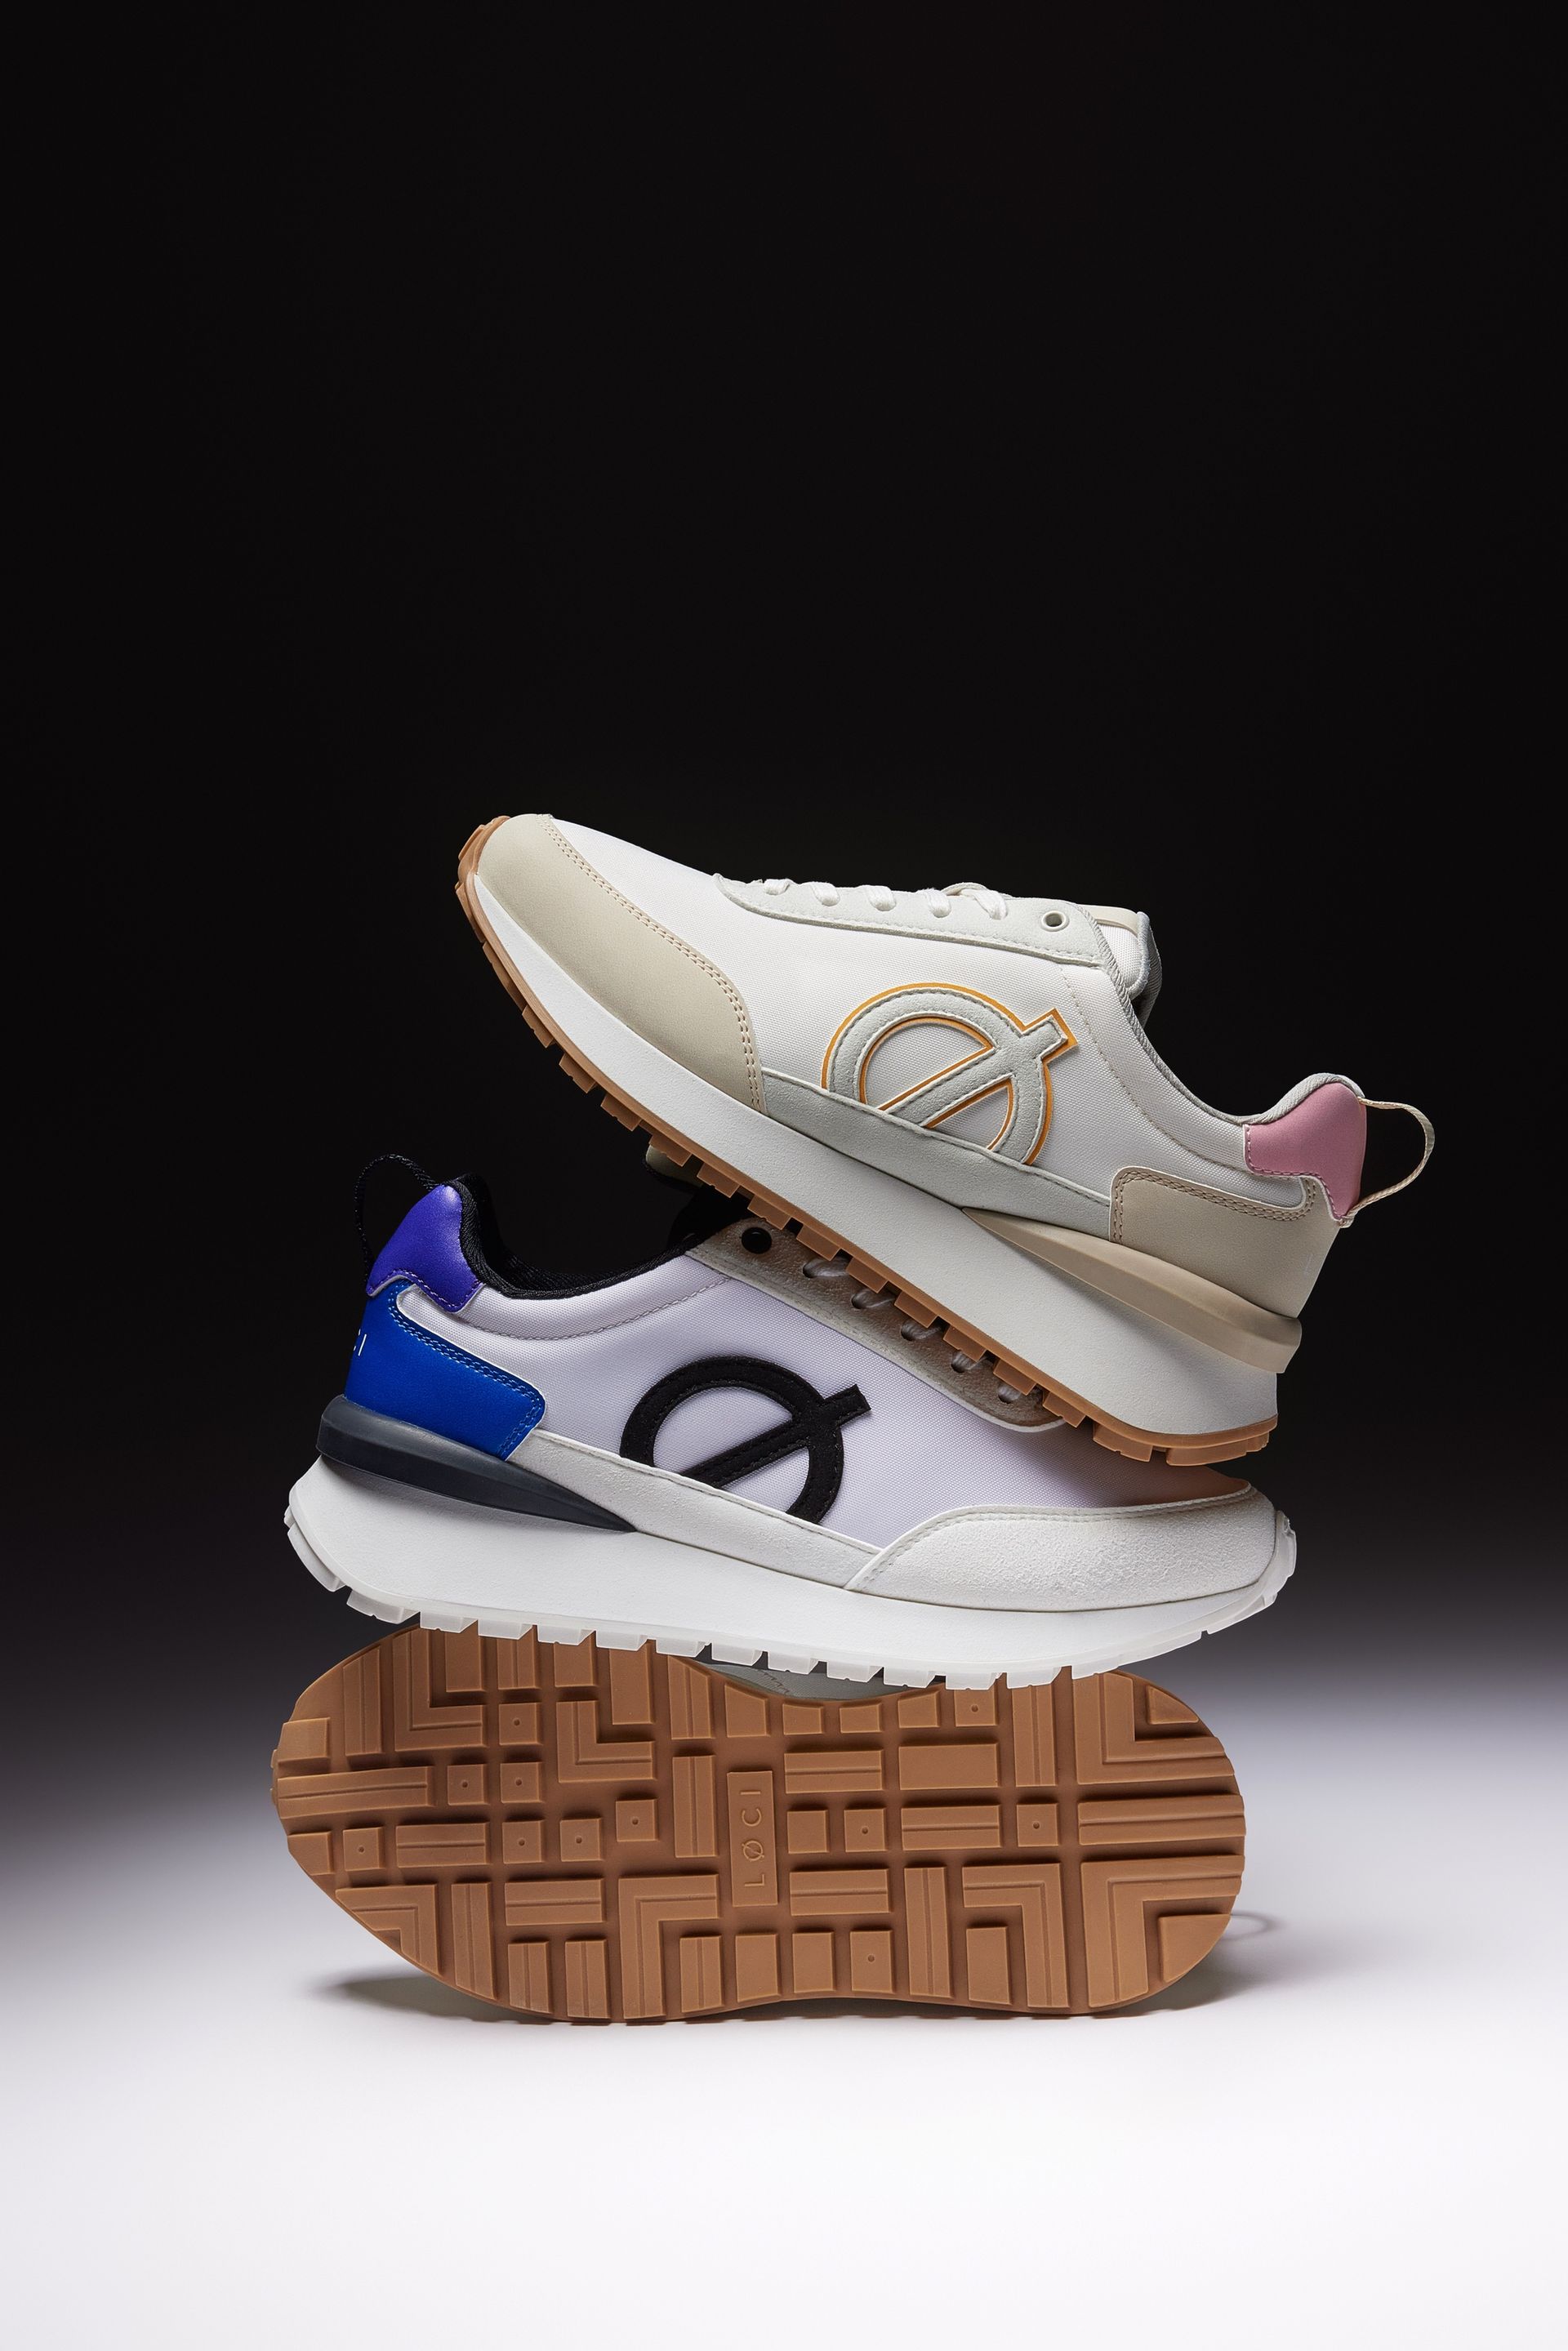
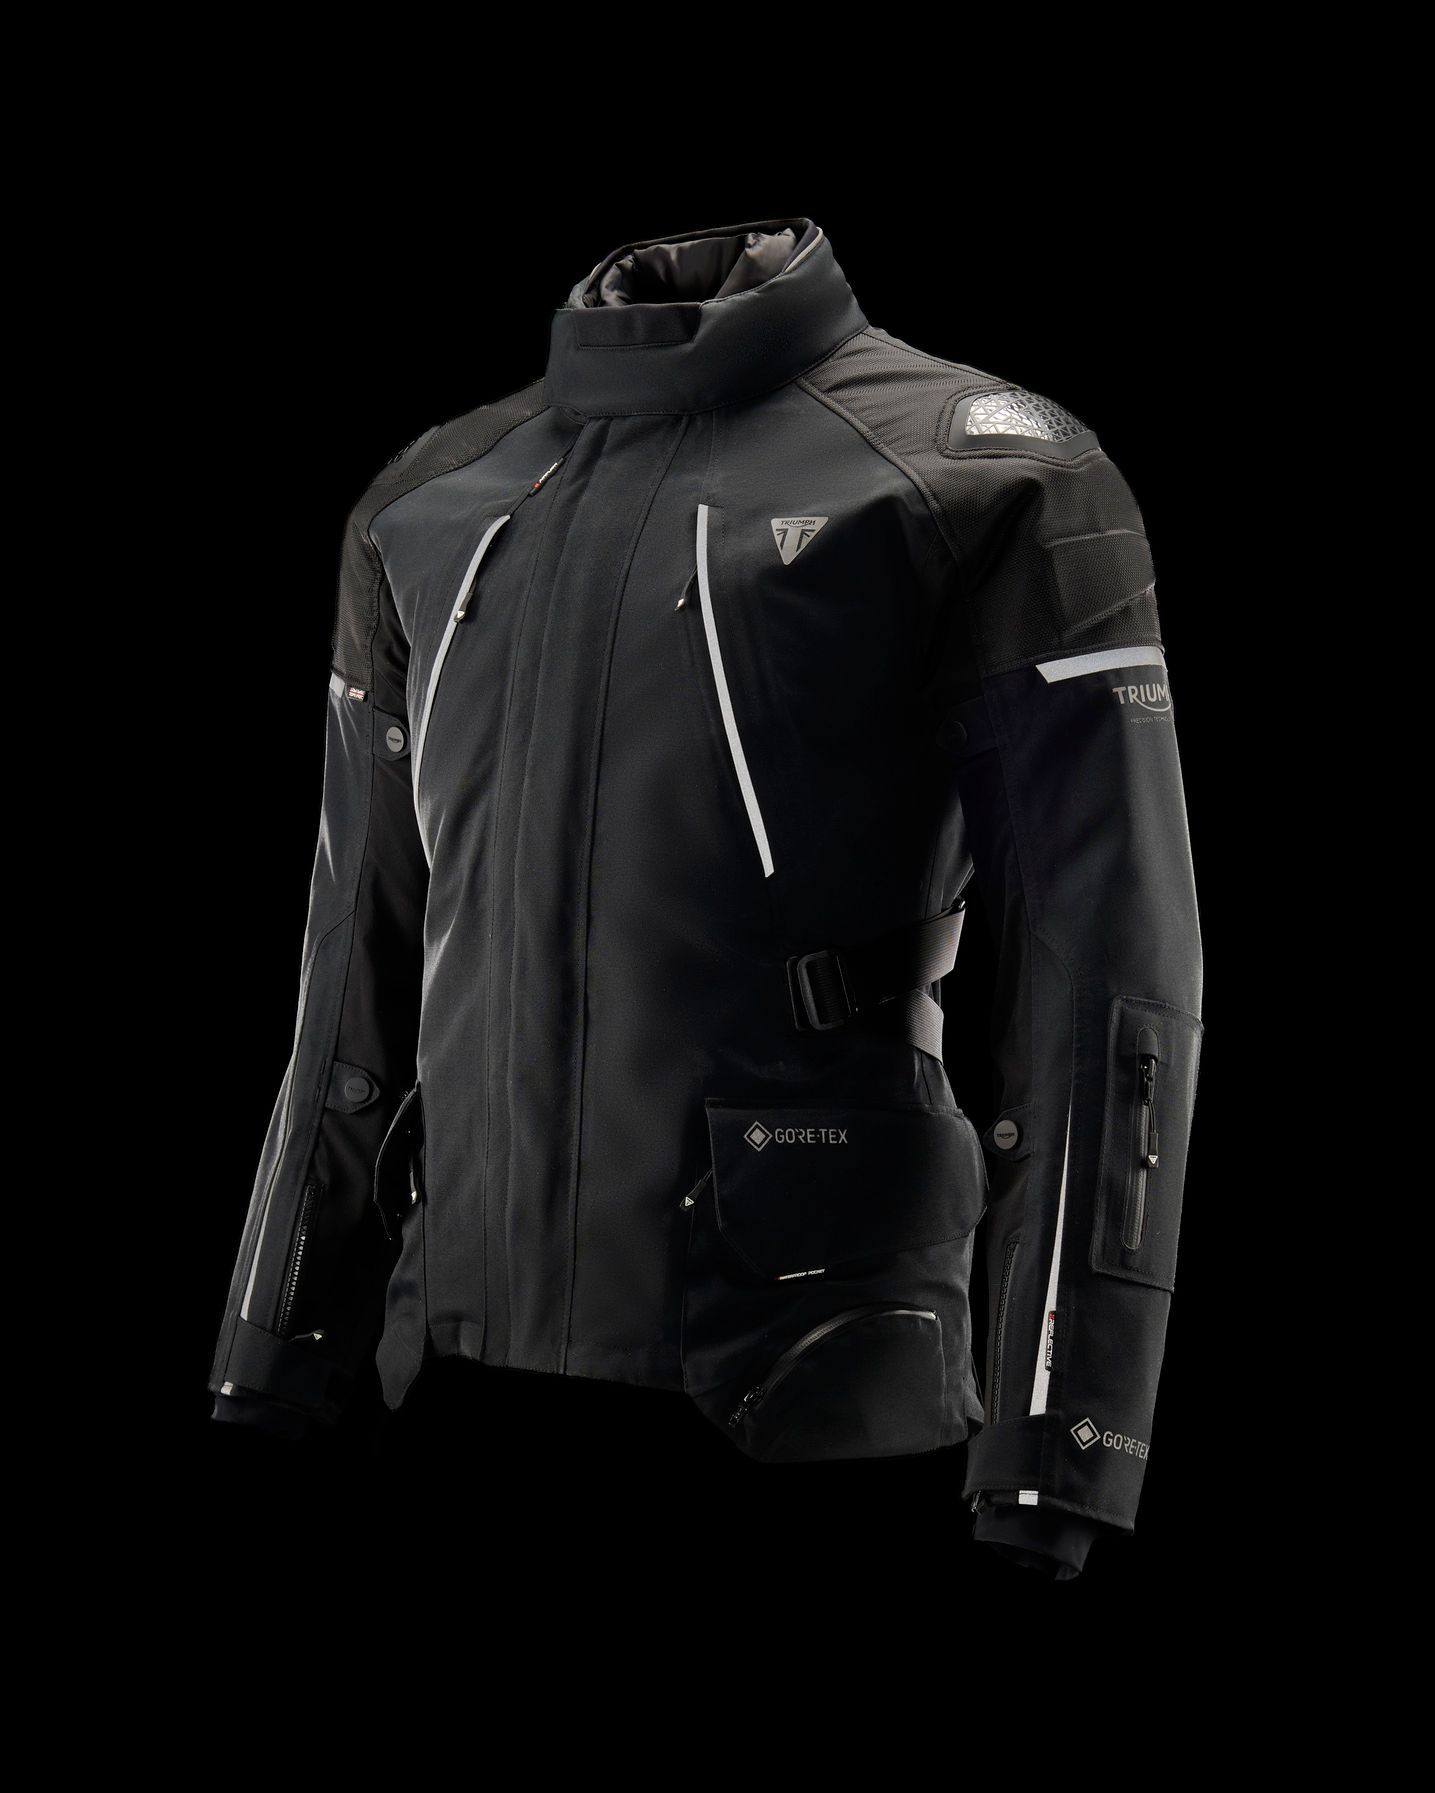
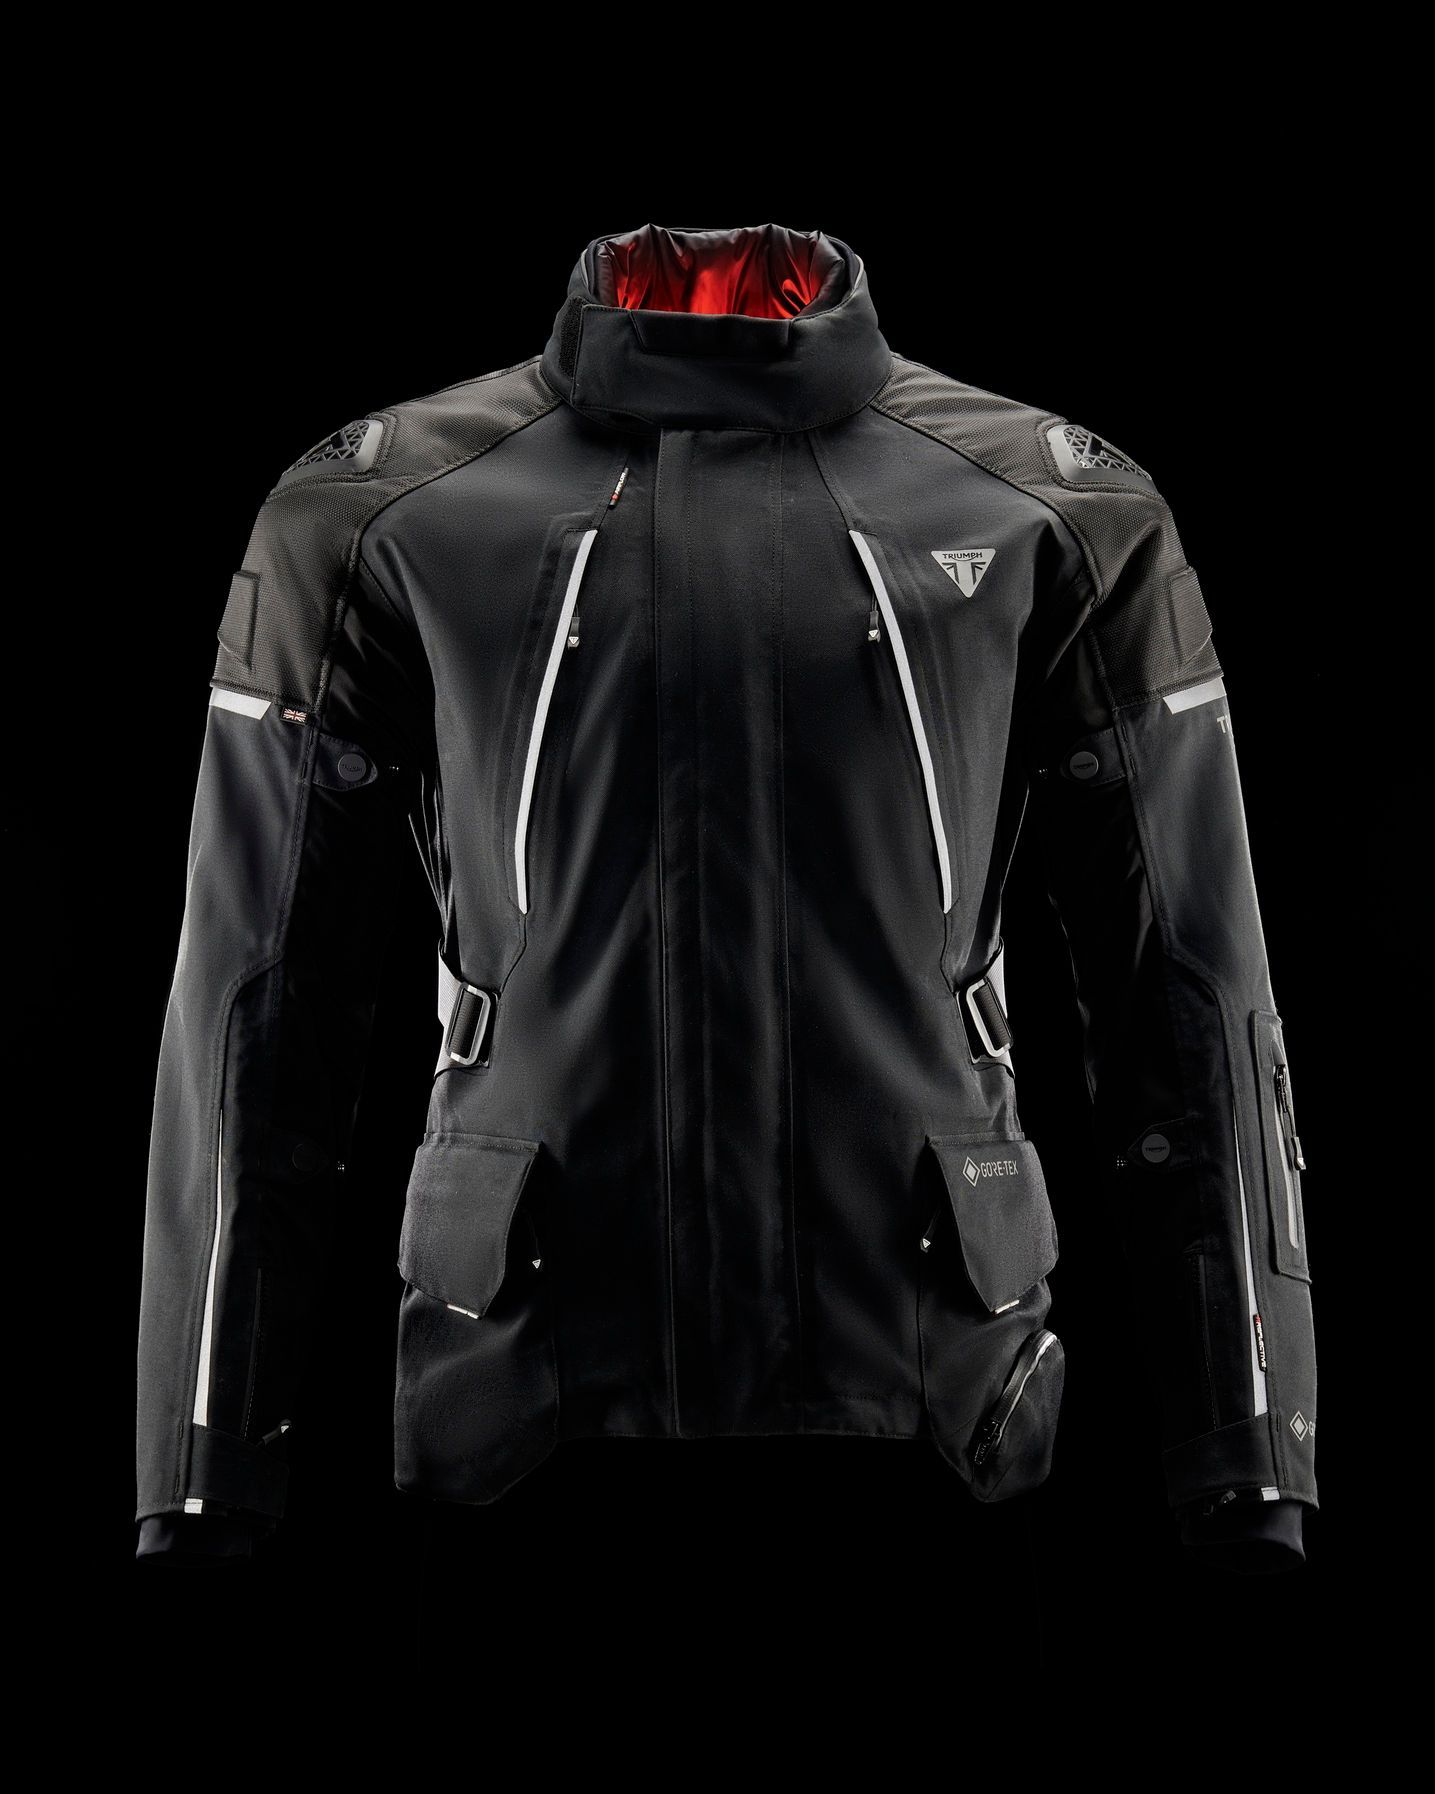
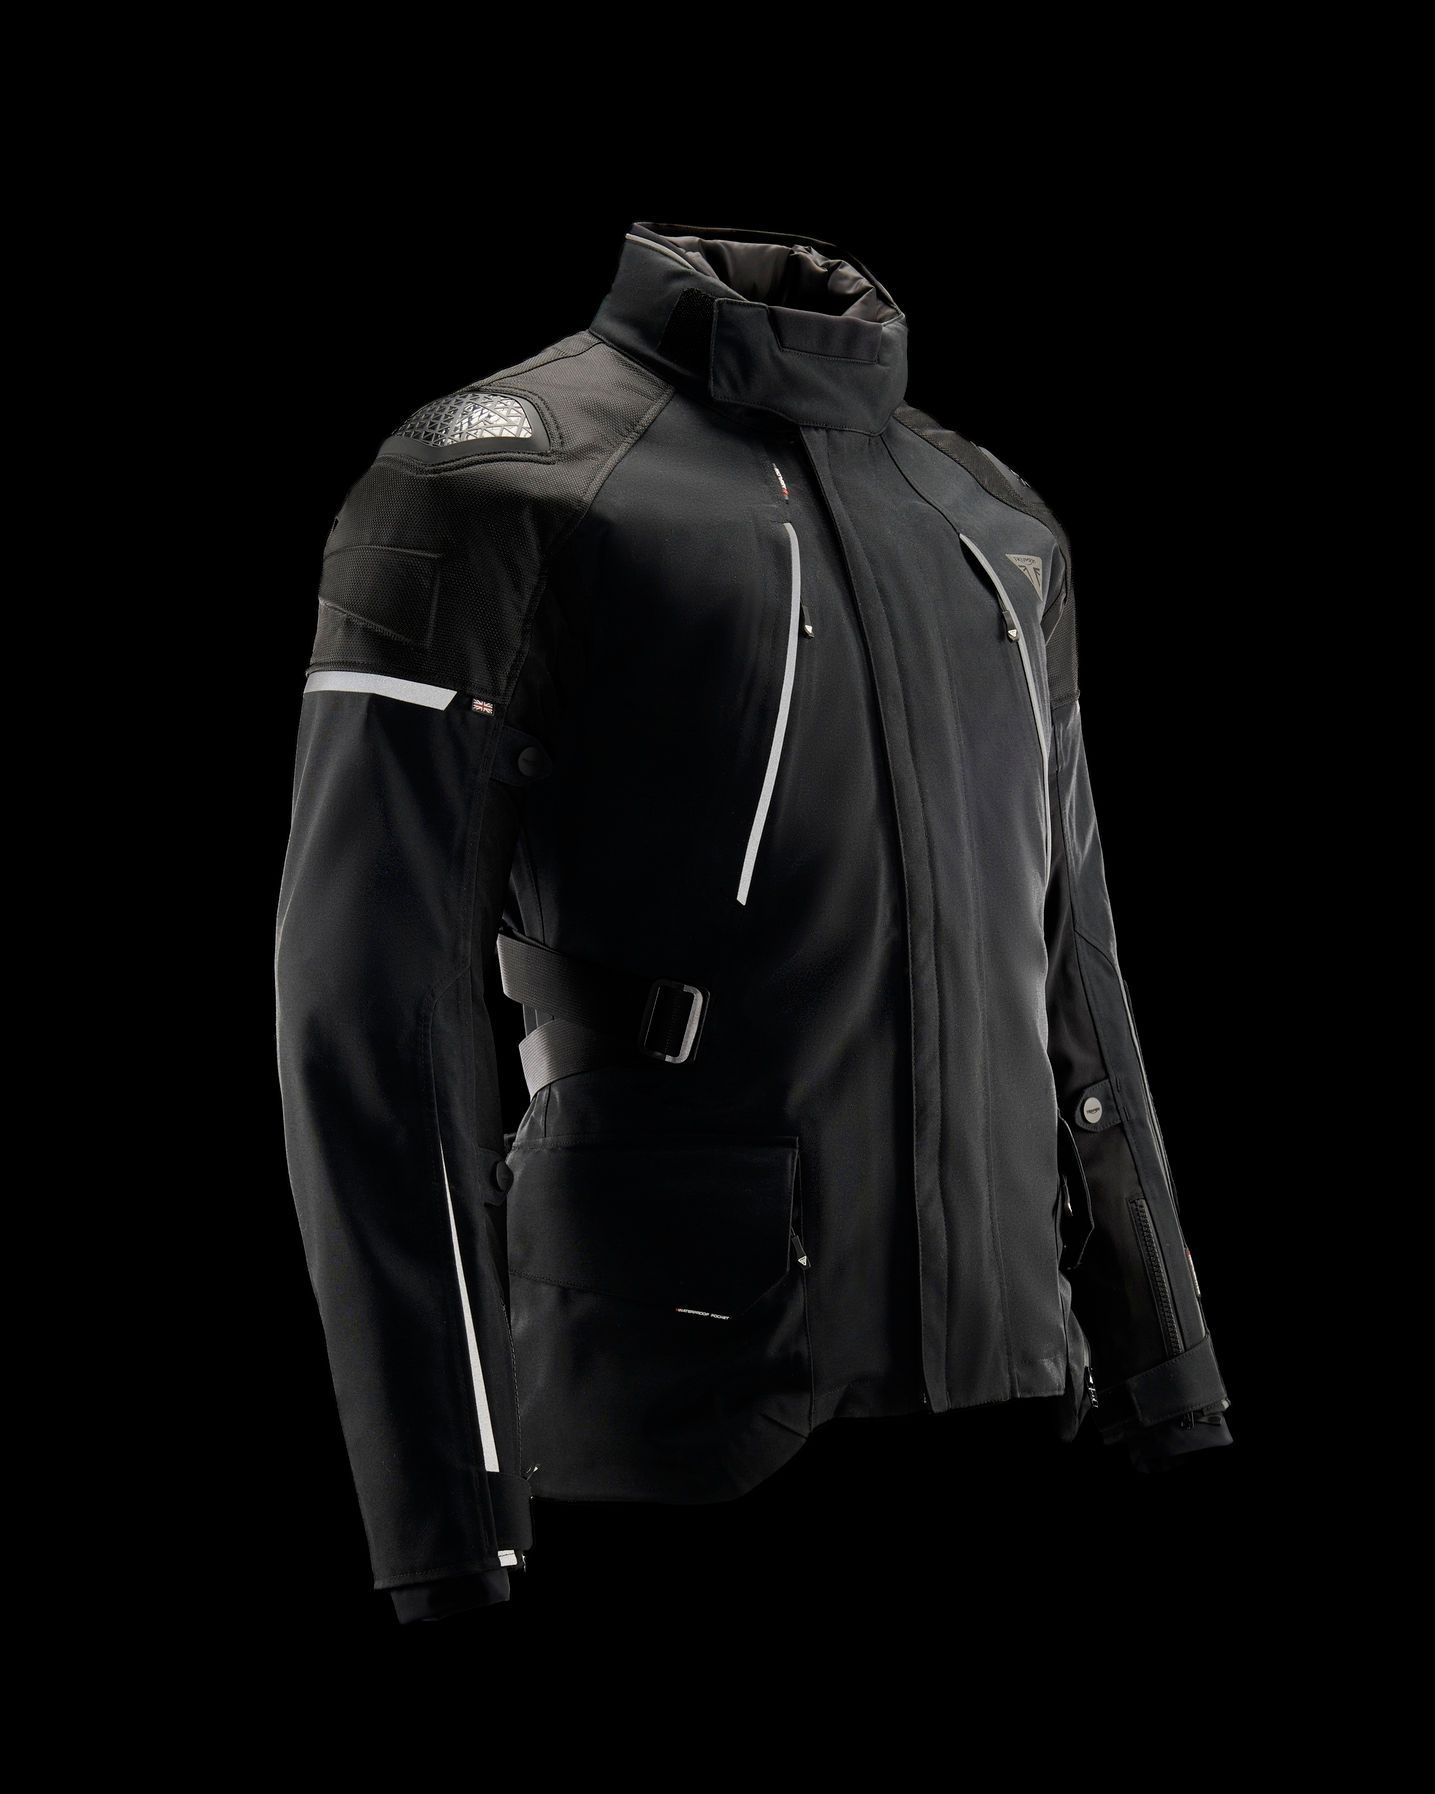
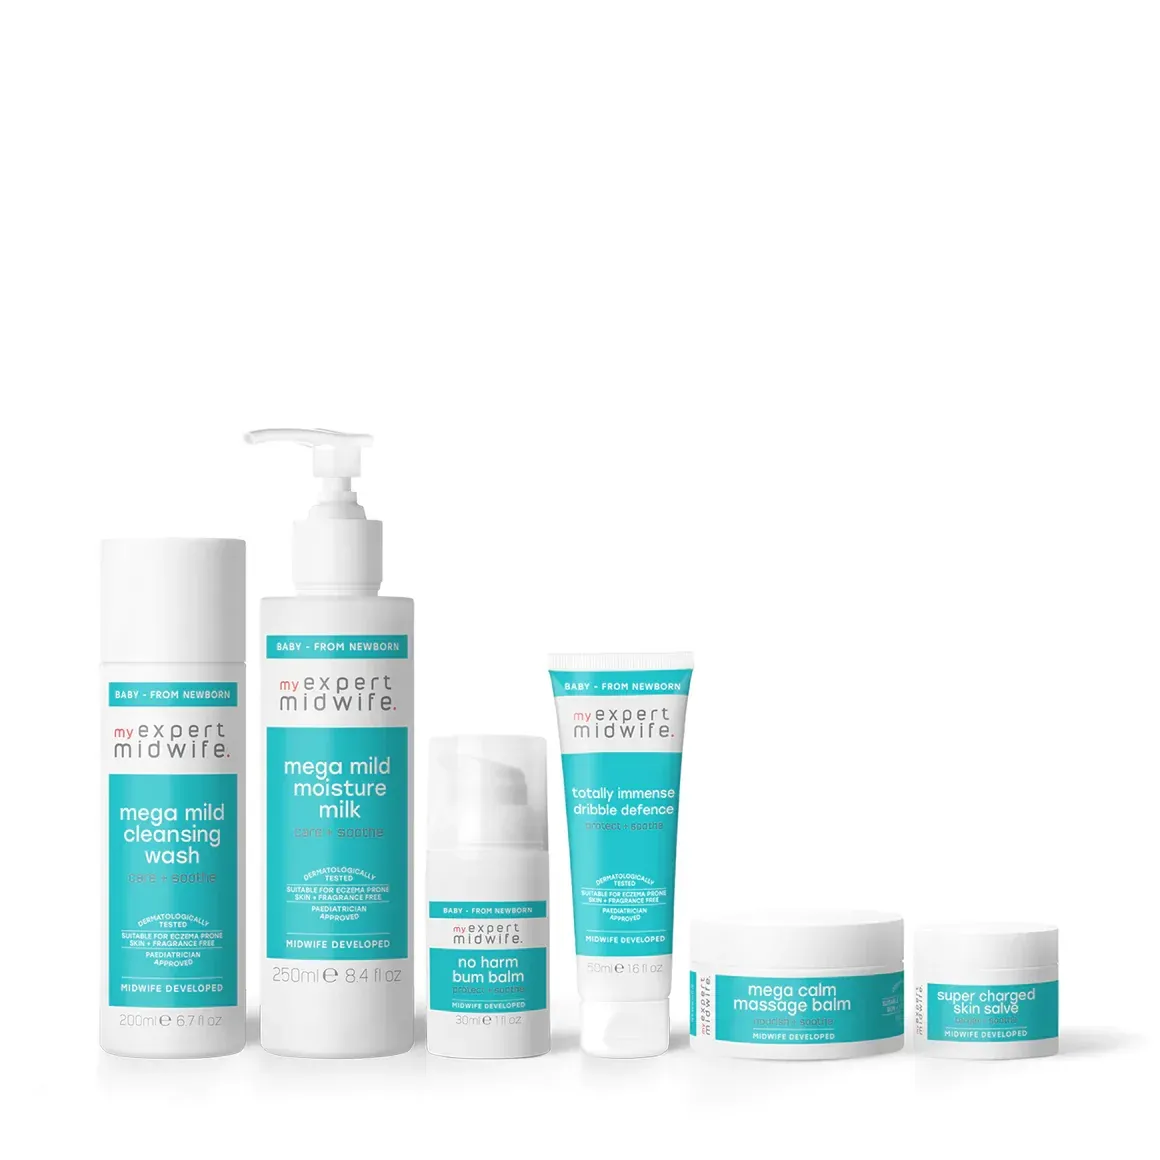
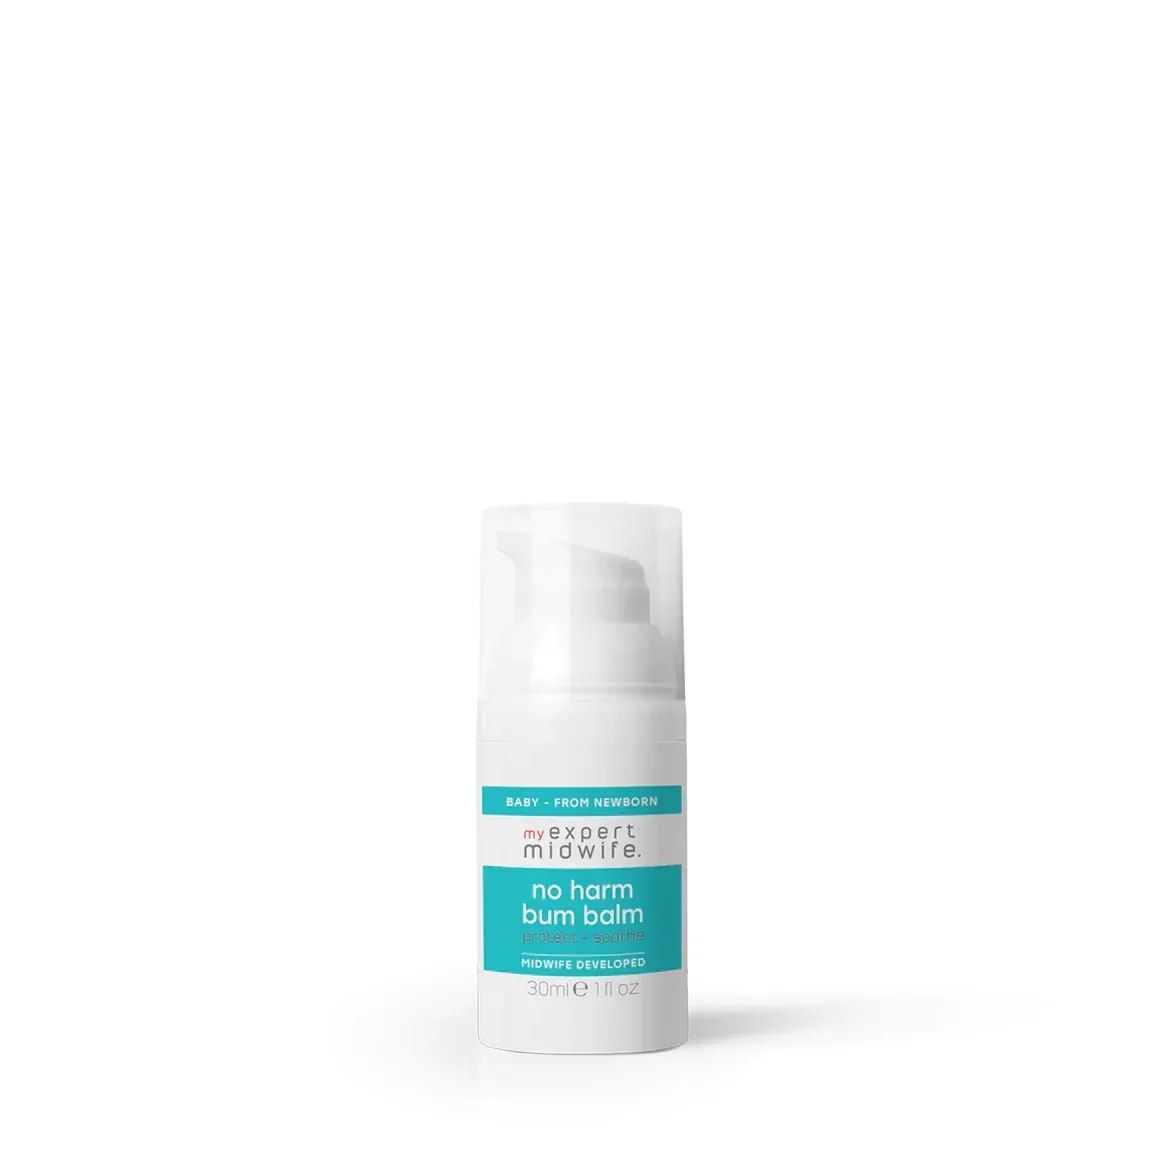
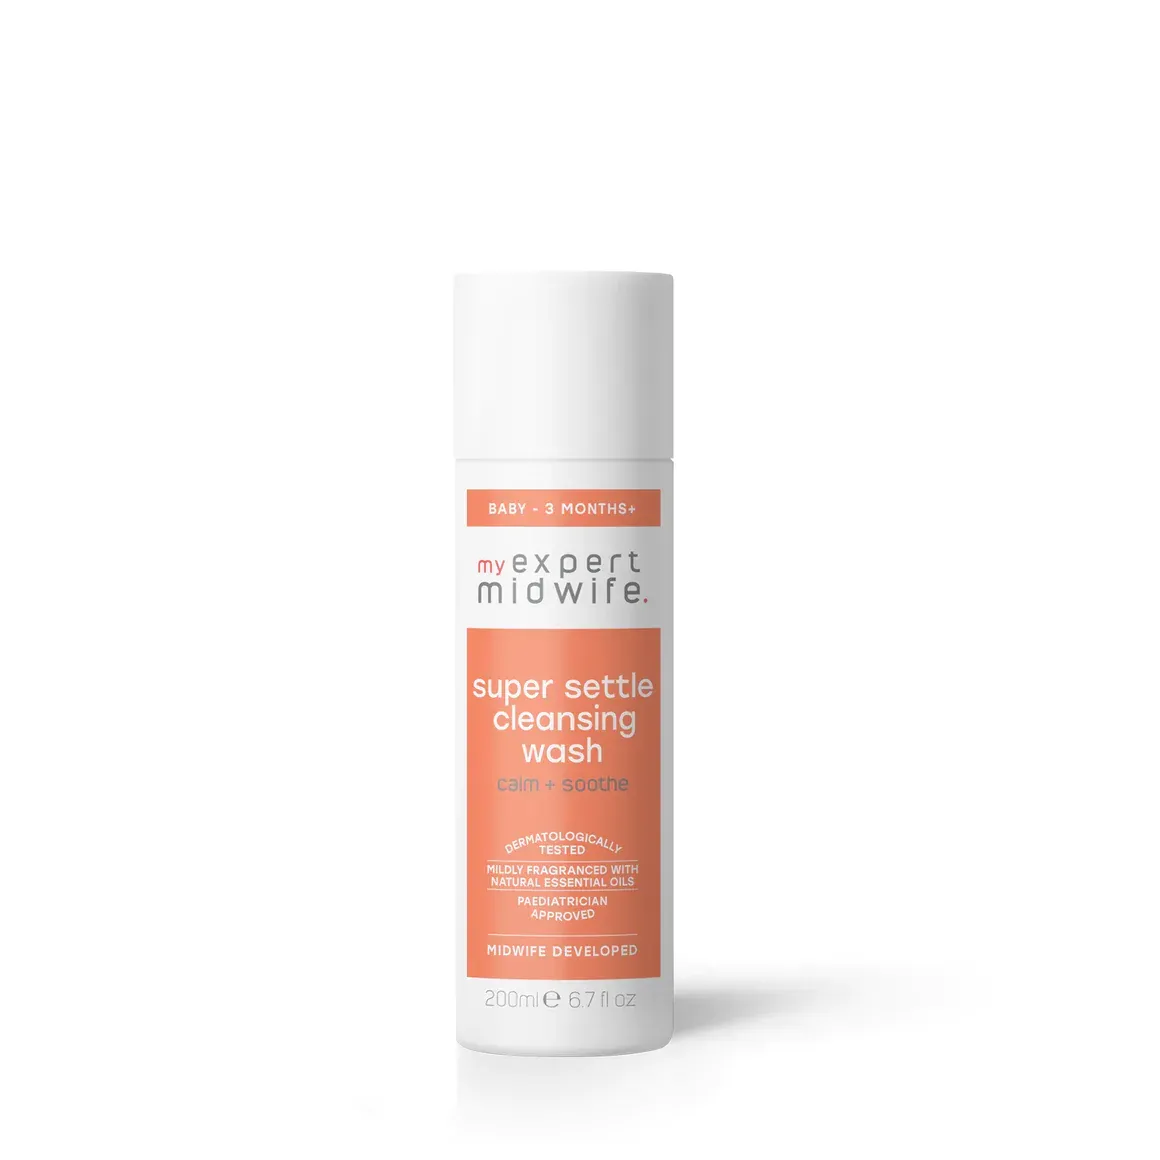
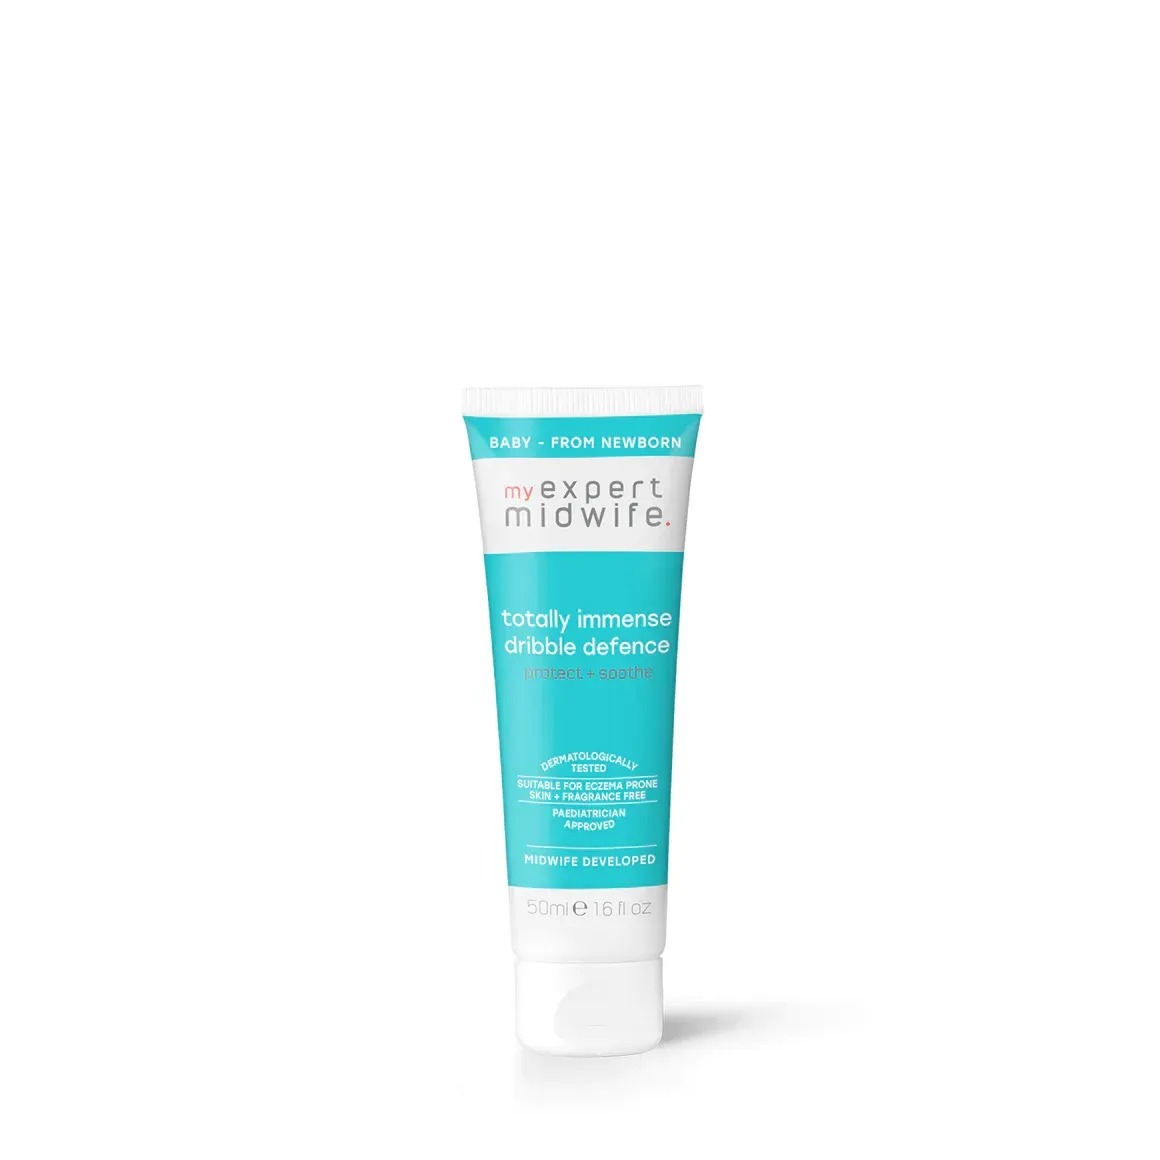
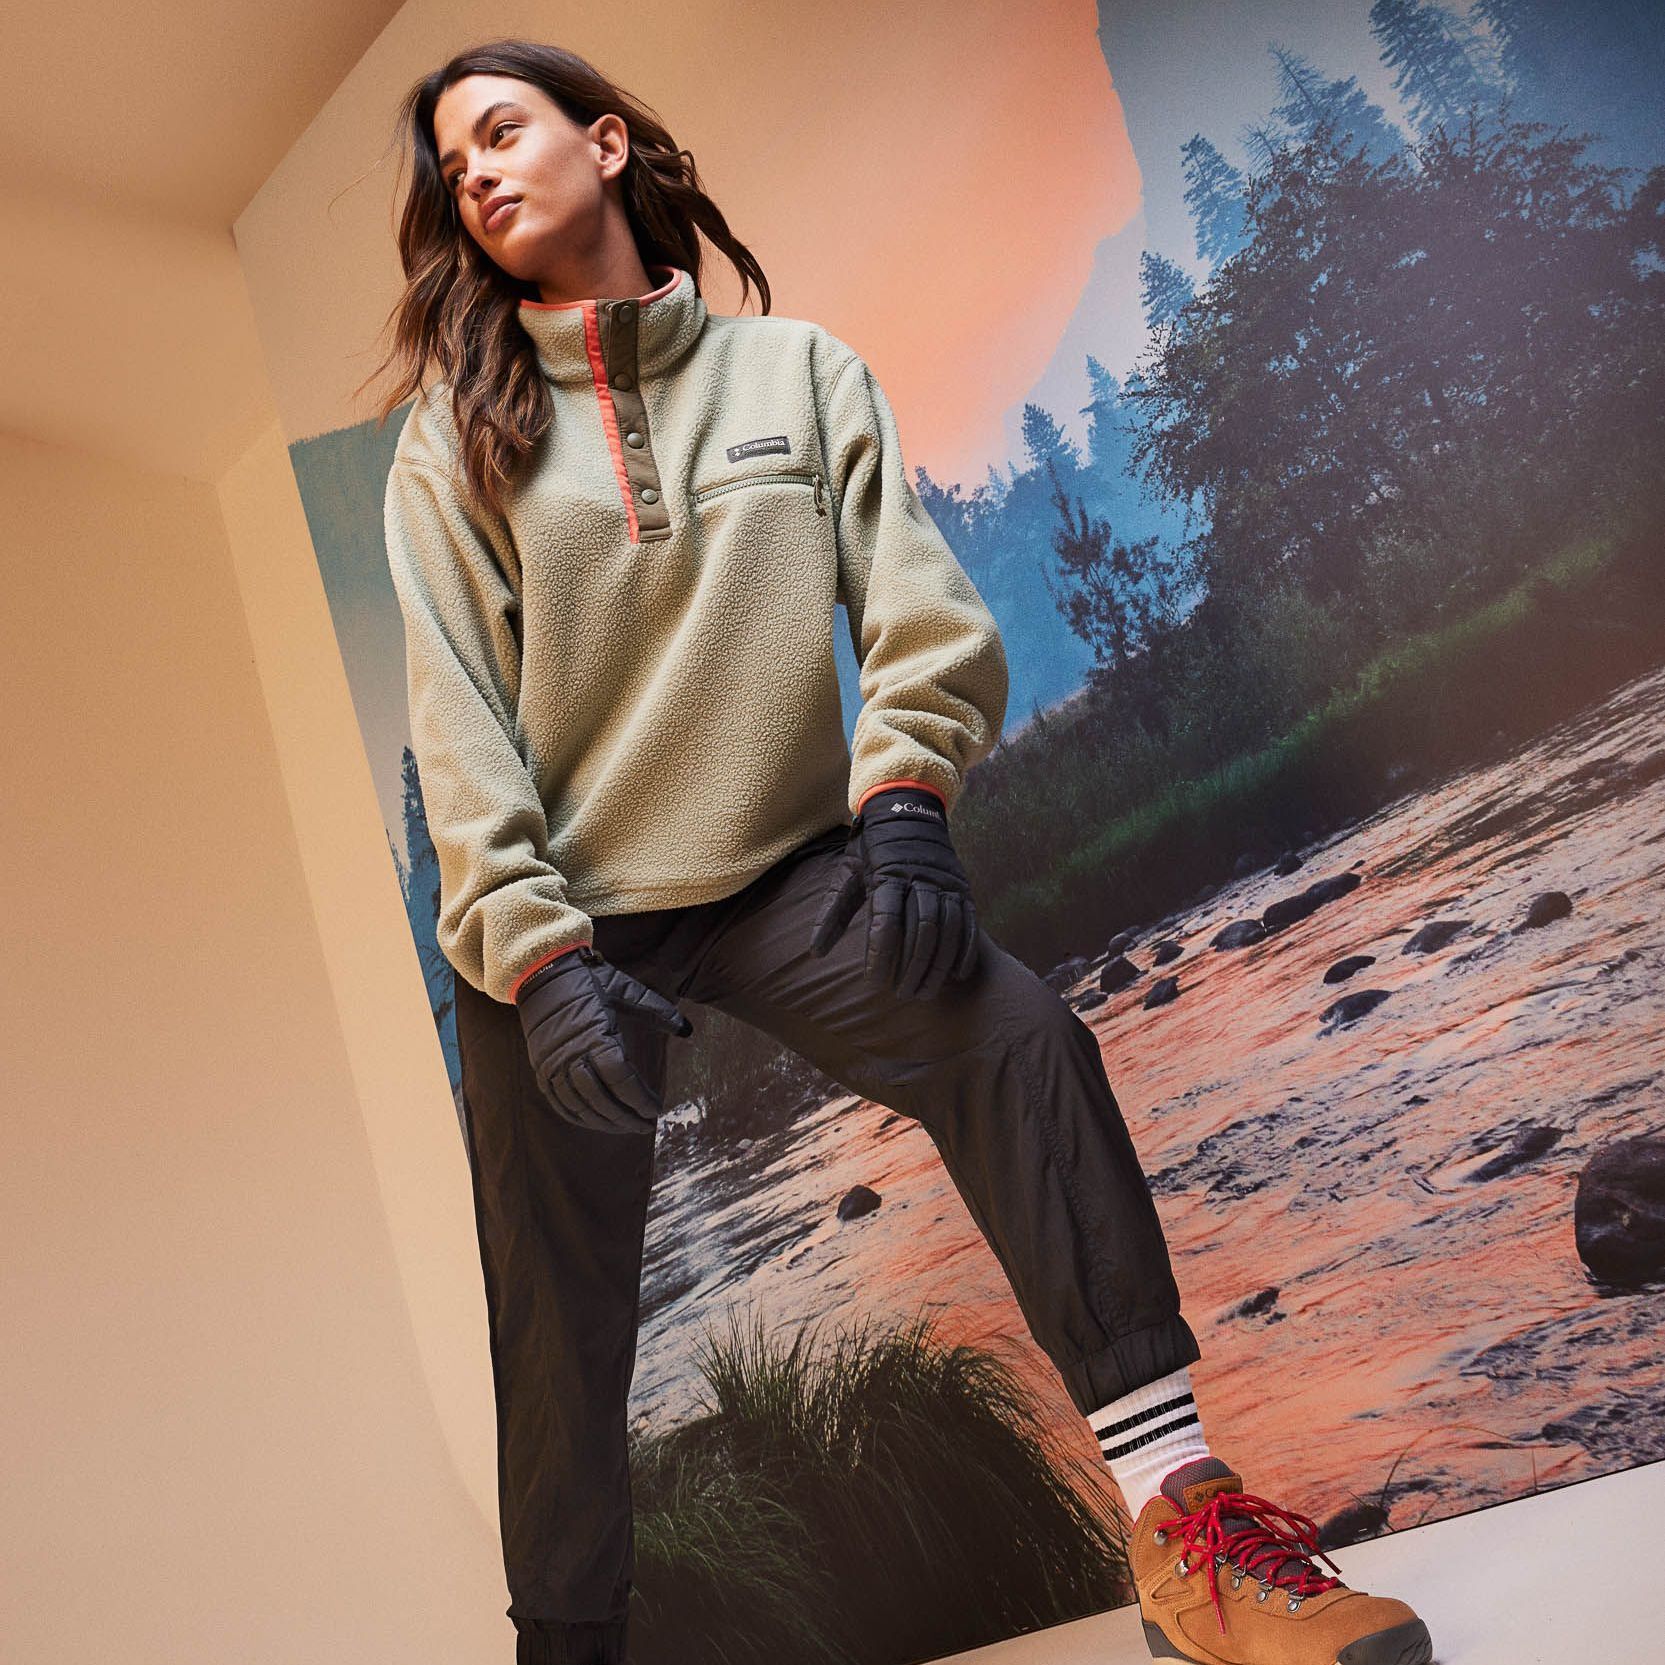
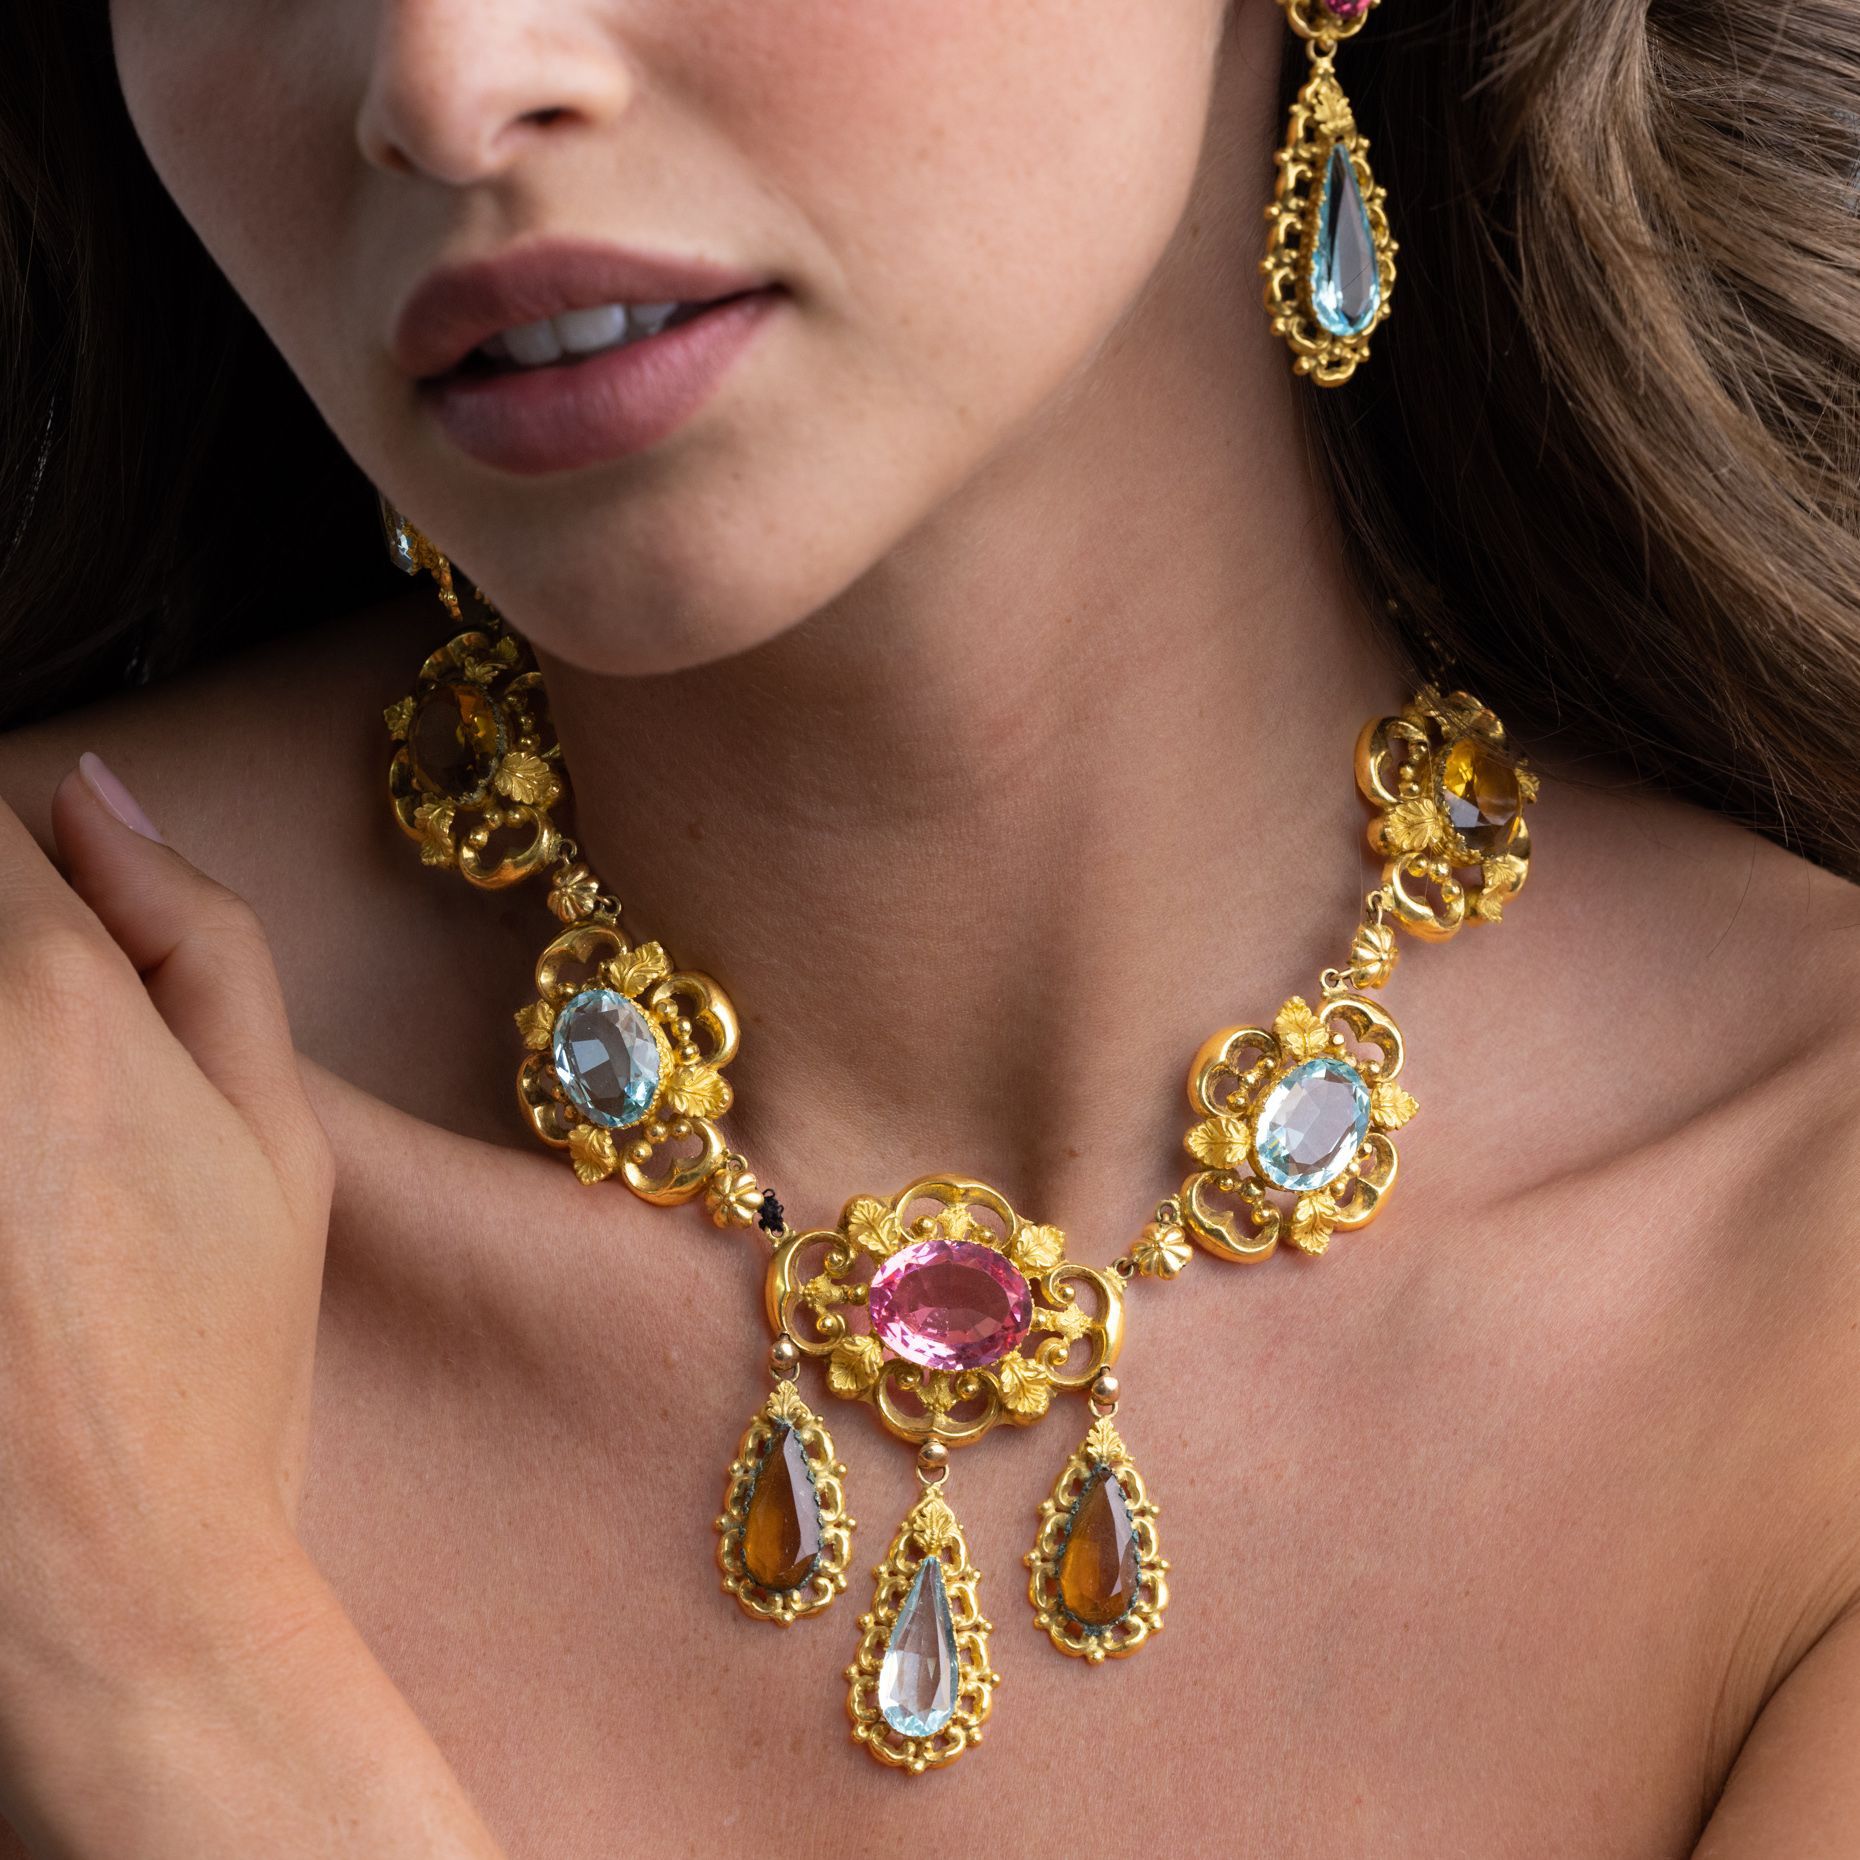
We specialise in product photography, because strong product imagery is one of the most important elements of any brand’s marketing campaign.
In a crowded digital marketplace where content is constantly scrolled past and overlooked, your product images need to stop attention and make an impact. We ensure your product photography and product videography stand out, engage, and never get ignored.
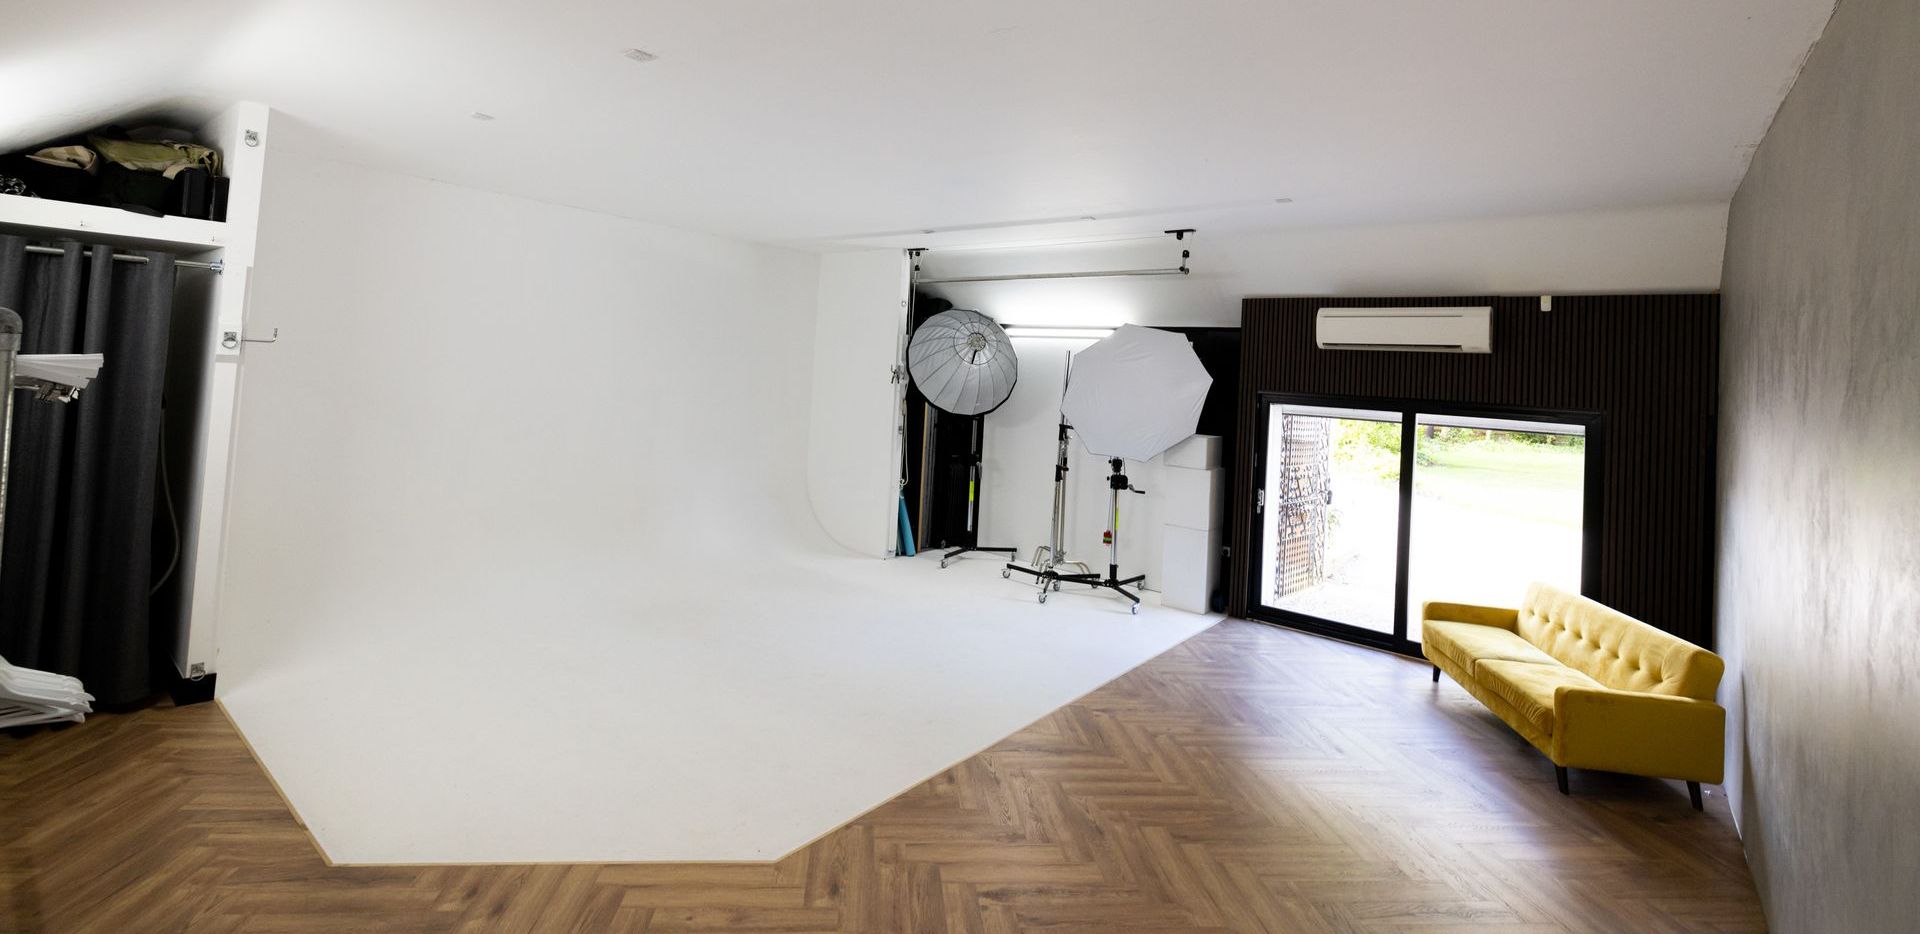
Our purpose-built product photography studio is equipped for shoots of all types. Ideally located close to London, our studio has everything needed to create high-quality product shots that speak for themselves across ecommerce, advertising, and social media.